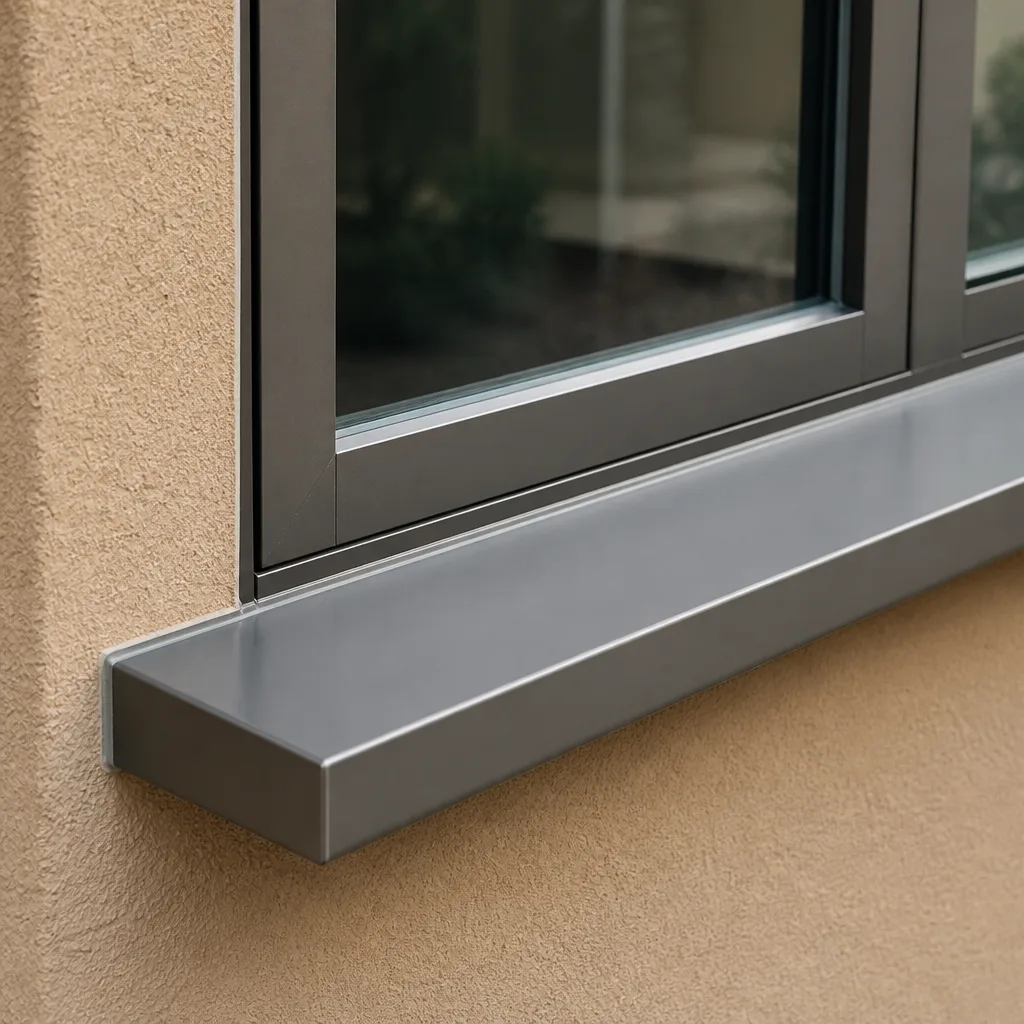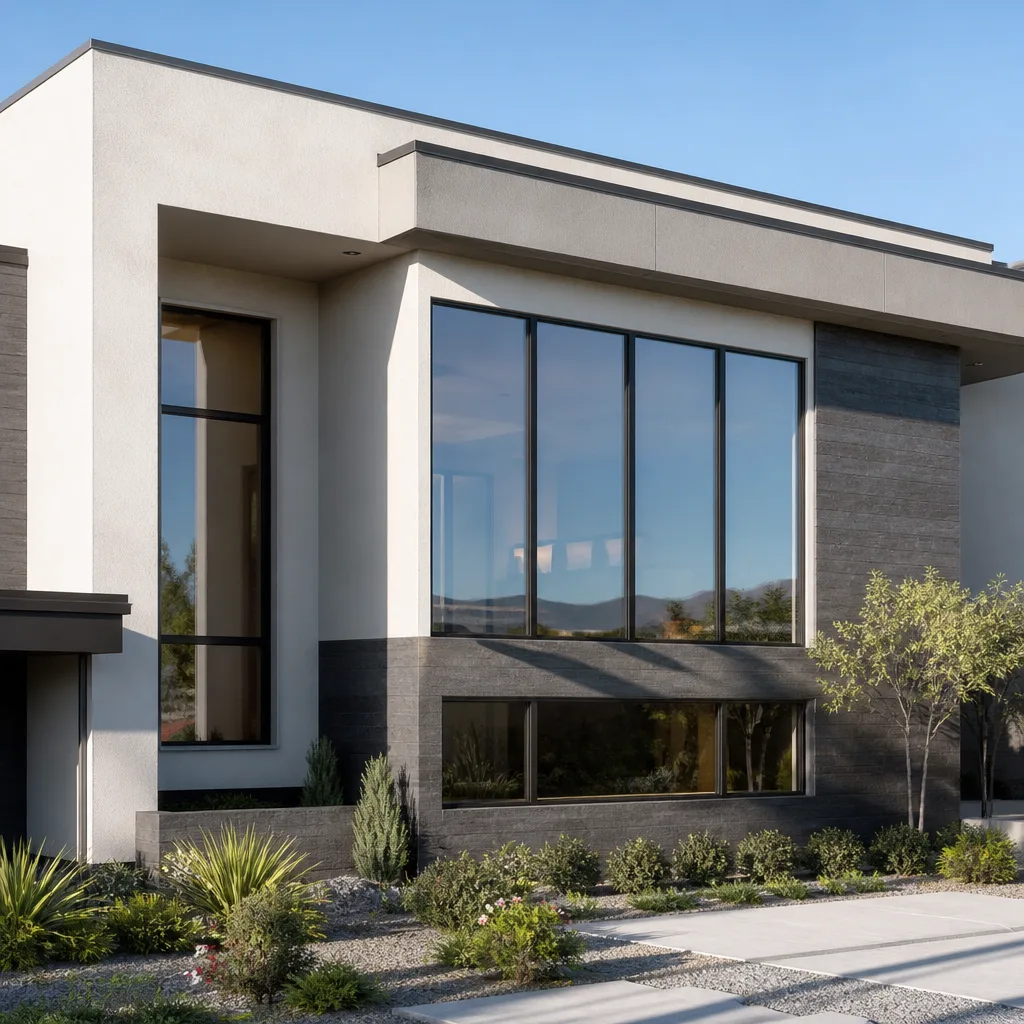
Last updated November 17, 2026
New windows and doors improve comfort, cut energy bills and add long-term value to your home. Sightline Windows & Doors Summerlin pairs proven product lines with a local vetted installing partner for lasting performance - and a price put in writing.
Choose your installer
The unit is half the job - the install is the other half. Background-checked local installers measure, set, seal and insulate every opening, and they know the lines we quote inside and out.
Select the right products
Compare styles, materials and glass packages side by side until the fit is right for your rooms, your budget and your goals. The product-line comparison below is the place to start.
Prepare your home for install
Before install day we walk you through a short checklist - furniture pulled back, treatments down, a clear path to each opening - so install day is watch-it-happen, not scramble.
Compare the Lines We Quote
Every project is priced on the same lines, side by side - the price indicators below are relative, and your consultant shows exact numbers on your actual openings.
PGTThe line homeowners arrive naming - the most impact certifications in the industry$$$
- More impact certifications than any other line we quote
- WinGuard, EnergyVue and ClassicVue Max systems built for every wind zone
- 99% on-time delivery keeps your install date on the calendar
CGIThe heavyweight impact line$$$$$
- Large-missile impact ratings for the strictest wind zones
- Architectural-grade aluminum with commercial-depth frames
- The line we quote when protection is the whole point
CWSThe value pick$$
- Vinyl systems built to strict wind codes
- Strong energy packages at the friendliest price point
- The smart start for whole-home replacements on a budget
ESWSlim lines, big glass$$$$
- Narrow-sightline aluminum for modern elevations
- Oversized openings and floor-to-ceiling glass
- Impact-rated without the bunker look
ECOThe aluminum impact workhorse$$$
- Factory-built aluminum impact systems
- A strong price-to-protection ratio for coastal homes
- Proven lines with short lead times
Door Installation Warning Signs Every Homeowner Should Know
A door that swings open on its own isn’t a ghost problem – it’s a plumb problem, and it was there the moment the hinges were set. Most installation defects are observable before the installer’s truck leaves the driveway, but homeowners don’t catch them because nobody translates “reveal is out of parallel” into plain English while the crew is still packing up. This guide walks through the six most diagnostic warning signs, gives you the tools to test each one (most of them cost under five dollars), and shows you what the evidence should look like when a Summerlin installation is actually done right.
Quick Answer
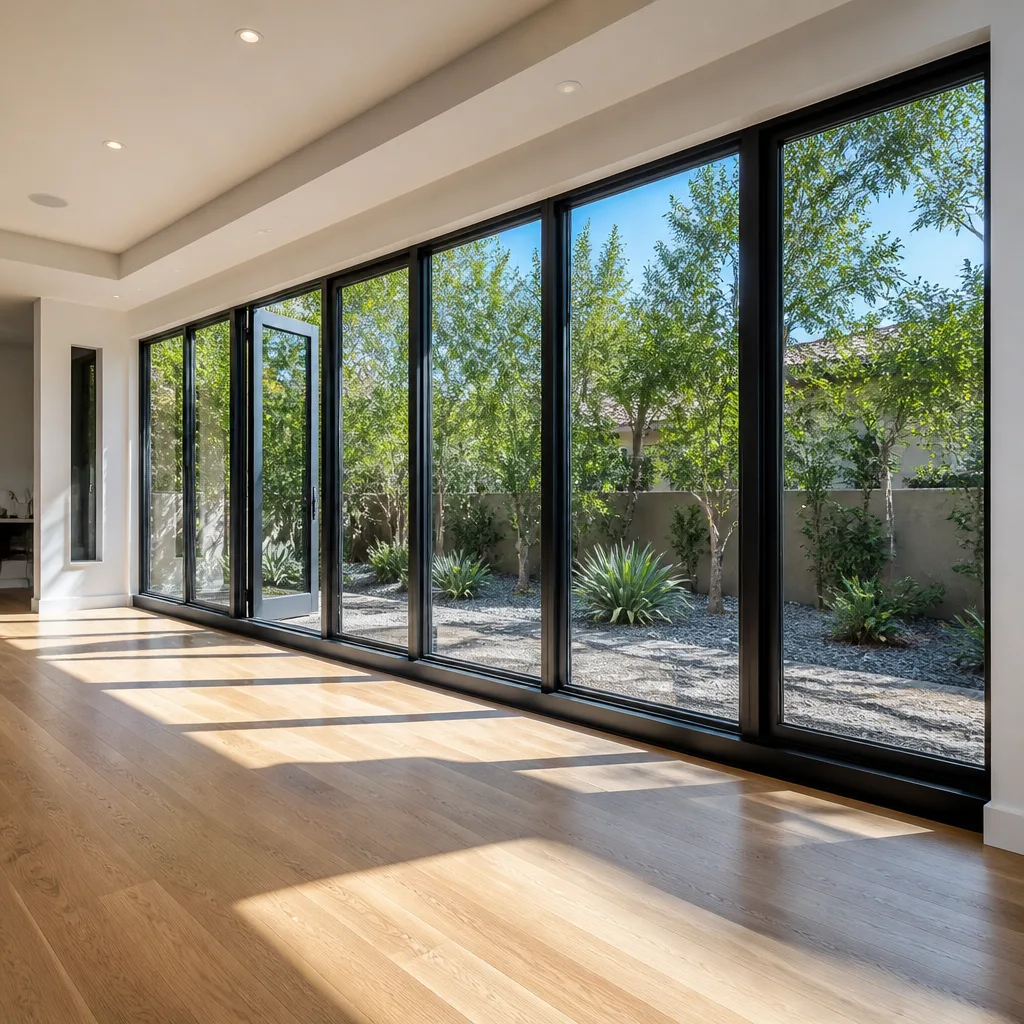
The six door installation warning signs to check are: a door that swings open or closed on its own (plumb failure), uneven gaps around the frame (poor shimming), sealant that’s caulk-only instead of properly flashed (water intrusion risk), weatherstripping that doesn’t compress without forcing the door, hinges or strike plates that pull loose within weeks, and paperwork that ends at a signed invoice with no photo record or written scope. Most of these are visible within the first 30 days. Run the checks before you write the final check.
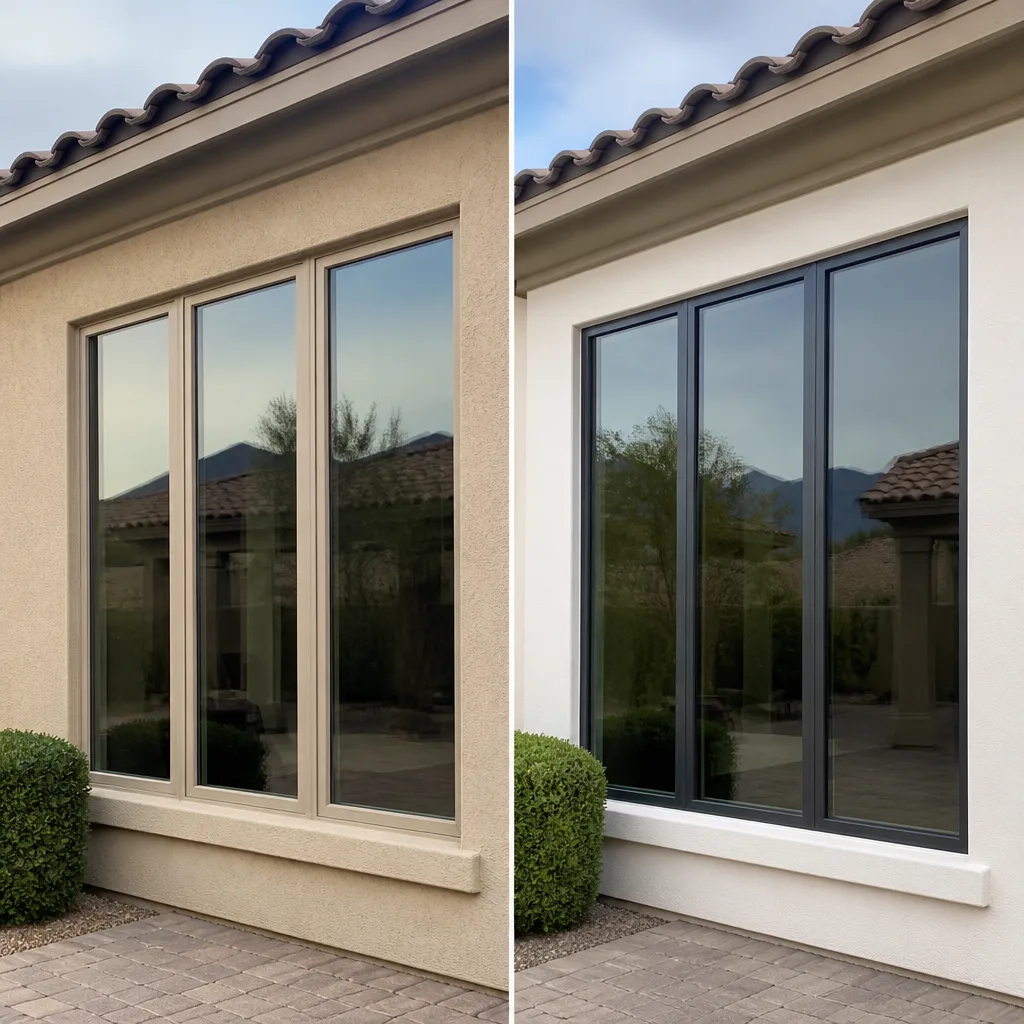
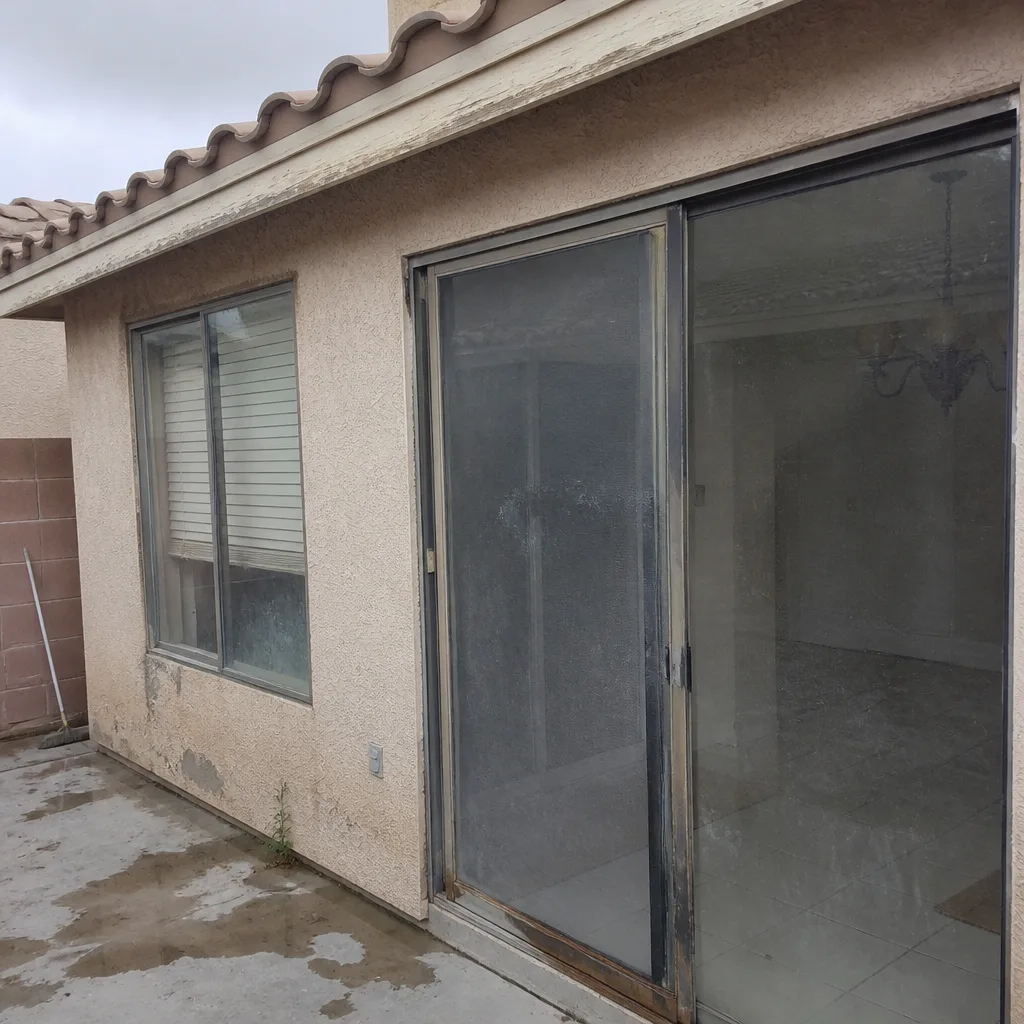 Before
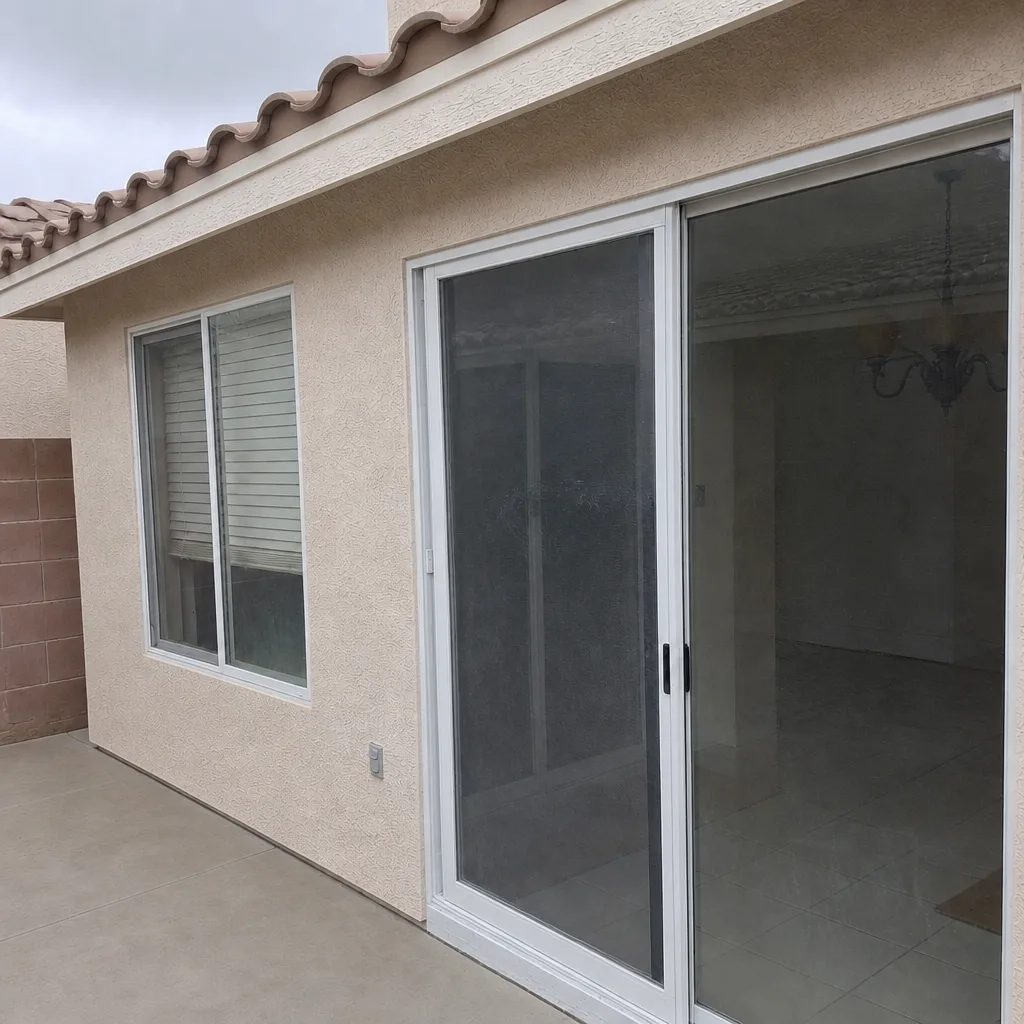 After
Table of Contents
- The Plumb Test You Can Run With a $4 Level
- Gap Mapping: Reading the Reveal Around All Four Sides
- Sealant and Flashing: Why a Caulk-Only Bead Fails in Monsoon Season
- The Weatherstripping Compression Test
- Hinges, Strike Plates, and What Loose Hardware Tells You
- Documentation Red Flags: What the Paperwork Should Show
- Common Mistakes to Avoid
- Frequently Asked Questions
The Plumb Test You Can Run With a $4 Level

Plumb means the door hangs perfectly vertical when closed. When a door is out of plumb, gravity wins – it swings open on its own, or it swings shut, and no amount of hinge adjustment fully fixes it because the frame itself is leaning. This is the single most common cause of “ghost door” complaints we hear in Summerlin, and it’s detectable in about 90 seconds.
Here’s the test:
- Open the door halfway and let go. A door on a properly plumb jamb stays roughly where you left it. A door that creeps open or shut within a few seconds is out of plumb.
- Lay a 24-inch spirit level against the hinge-side jamb, on the face of the frame (not the door itself). Read the bubble.
- Repeat on the strike-side jamb. The two readings should match.
- Check the head jamb (across the top) for level in the same way.
What’s acceptable? A bubble that sits fully between the lines is fine. A bubble touching a line is borderline. A bubble that crosses the line means the frame is out by roughly a quarter-inch over the height of the level – and that’s a callback-level defect, not a cosmetic one. In our experience, doors out of plumb by more than about a quarter-inch over 24 inches will begin to bind against the weatherstripping within a year, and you’ll notice a scraping sound before you notice the swing. The fix isn’t adjusting the hinges; the frame has to be reset, which means the install itself needs to be re-evaluated. If you’re replacing a door and the installer hasn’t leveled the rough opening before setting the frame, this is exactly where failures start. A properly measured survey catches it before the door ever leaves the shop, and a written scope of work should specify that the opening will be leveled, not just shimmed until it looks close. If a door in your Summerlin home is already swinging on its own, it’s worth getting a second set of eyes on it before the frame settles further – see our Door Installation in Summerlin page for what a properly documented install looks like from start to finish.
Gap Mapping: Reading the Reveal Around All Four Sides
The reveal is the gap between the door slab and the frame. On a well-installed door, the reveal should be consistent – typically 1/8 inch to 3/16 inch – on all four sides: top, bottom, hinge side, and strike side. When you map the gaps and find them irregular, the shimming behind the frame is the culprit almost every time.
Here’s how to map it. Close the door. Use a tape measure or a set of feeler gauges and record the gap width at the top-left, top-center, top-right, middle-left, middle-right, bottom-left, bottom-center, and bottom-right of the door slab. Write the numbers down. Then compare.
- Tight at the top, wide at the bottom (hinge side): The frame is out of plumb and the shims have been set to hide it. Callback.
- Wide on the hinge side, tight on the strike side: The door slab is racked, or the strike jamb wasn’t shimmed to match the hinge side. Callback.
- Wider at one corner than the diagonal opposite: The opening is out of square. Occasionally correctable, but usually means the rough opening wasn’t squared before install.
- Consistent all around but slightly wide (over 3/16 inch): Cosmetic, but it tells you the slab was ordered to the wrong size, or the installer planned on sealant to fill it. Ask questions.
In Summerlin, we regularly see doors where the strike side is tighter than the hinge side because the crew chased the slab instead of shimming to square, and that gap pattern shows up within about six weeks because the weatherstripping on the tight side compresses fully while the wide side never engages. When homeowners bring us a competitor’s estimate for a free second opinion, this gap pattern is often what’s missing from the written scope – the quote lists the door and the labor but doesn’t specify that the frame will be squared and shimmed to the reveal tolerance. It should. Window Replacement in Summerlin jobs have the same shimming discipline requirement, and the ones that skip it end up on a callback list.
Before you accept a finished door, map the gaps and put the numbers on the paperwork. That way, if the reveal widens over the next few months, you have a baseline.
Sealant and Flashing: Why a Caulk-Only Bead Fails in Monsoon Season

Here’s the distinction most homeowners don’t know to ask about: flashing tape versus caulk alone. Flashing tape is a self-adhering membrane that laps over the rough opening framing and the door’s nailing fin, shedding water out and down the wall. Caulk is a bead that seals a joint. They do different jobs, and one does not replace the other. A door installed with caulk only – no tape, no flashing integration – will dry out, crack, and let water in within a couple of summers.
Summerlin’s monsoon pattern is exactly what punishes a caulk-only install. Most of the year the climate is dry enough that a poorly sealed door never shows a problem. Then July and August arrive, a wall of rain hits in 20 minutes, and water finds the gap. By the time you see a water stain on the interior casing or a soft spot in the drywall next to the door, the water has usually been getting in for a season or more.
What a correct install looks like:
- Sill pan or sill flashing under the door, sloped to the exterior. No exceptions.
- Flashing tape over the nailing fin, layered shingle-style – bottom first, then sides, then top. Each layer laps over the one below.
- Sealant applied to the exterior perimeter joint as a final weather-seal over the flashing, not as the primary defense.
- Interior gap filled with foam or backer rod and sealant only after the flashing is verified.
- Photo documentation of the flashing sequence before the interior trim goes on – because once it’s covered, you can’t verify it later.
When you inspect a finished door, look at the exterior transition. A neat bead of caulk between the door frame and the stucco is a good sign but tells you nothing about what’s behind the trim. If the installer can’t show you a photo of the flashing tape on the wall, you have no way to know it was done. That’s the core of why we photograph every stage on Summerlin installs – the evidence travels with the job.
The Weatherstripping Compression Test
Weatherstripping is the foam, rubber, or fin-seal gasket around the door’s perimeter that closes the gap between the door and the frame when the door is shut. On a properly installed door, the weatherstripping compresses fully with normal closing force – you should be able to latch the door with one hand and hear a soft, even compression sound all the way around.
The test: close the door normally. Then run a piece of paper (a dollar bill works) around the perimeter, closing the door on it at eight points – top-left, top-center, top-right, mid-hinge, mid-strike, bottom-left, bottom-center, bottom-right. Pull the paper gently at each point. You should feel resistance at every point, and the resistance should be roughly even. If the paper slides out with no friction at any point, the weatherstripping there isn’t engaging. If it requires a hard yank that deforms the strip, the door is being over-compressed, which is just as bad – it wears the seal out early and makes the door hard to close.
What a failing seal costs, in dollars: on a typical Summerlin entry door, the difference between a fully sealed door and one with two or three inches of uncompressed weatherstripping runs about $35 to $70 a year in added cooling load during the cooling season, based on typical local utility rates. That’s not catastrophic on its own – but it’s the tip of a bigger problem, because an uncompressed seal is also an air and dust pathway, and it means the door was never properly fitted. If the seal is failing within 30 days of install, the installer didn’t verify compression before signing off. If you’re adding a new door and want to see what proper weatherstrip specification includes for Summerlin’s heat, the Window Installation in Summerlin page walks through the same specification logic applied to glazing.
Hinges, Strike Plates, and What Loose Hardware Tells You
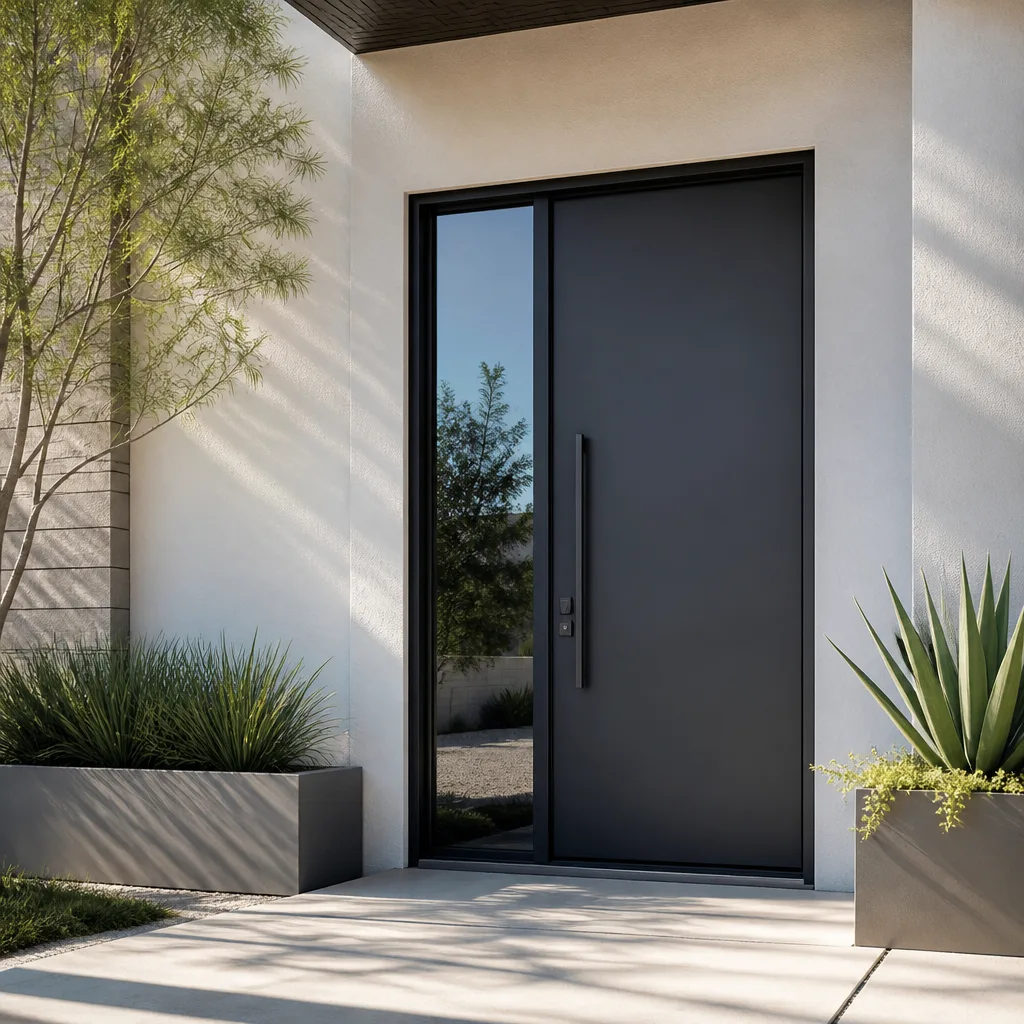
Hinges and strike plates shouldn’t move. If they do – if you can rock the hinge plate against the jamb with your thumb, or if the screws spin without biting – the frame behind them is either soft, poorly shimmed, or the installer used the wrong fastener. On an exterior door that gets daily use, this shows up within the first six to twelve weeks.
Here’s the sequence we walk through when checking hardware:
- Grab the top hinge plate and try to rock it side to side. Any movement is a defect.
- Run a fingertip around each hinge screw head. A screw sitting slightly proud of the plate means it didn’t fully seat – usually because it hit a shim edge, not the frame.
- Check the strike plate alignment. The door should latch with a firm push and no jiggling. If you have to lift or pull the door to get the deadbolt to line up, the strike-side shim or the slab position is wrong.
- Open and close the door ten times in a row. Listen for a change in the sound – a rattle or a rub that wasn’t there on the first close means the door is settling, and settling after install is a sign the shims weren’t anchored.
In Summerlin, thermal cycling matters here. Exterior doors see large daily swings in surface temperature, and a door set on loose shims will drift out of latch alignment within a summer or two. If the hardware is already loose, don’t just tighten it – find out why it came loose, because the underlying shimming is usually the real issue, and tightening the screw is a temporary fix.
Documentation Red Flags: What the Paperwork Should Show
If the only record of your install is a signed invoice, you have no way to verify what was actually installed, how it was sealed, or what was found behind the trim once the wall was opened. That matters because the visible evidence goes away once the finish work is done. What a reputable installer’s paperwork should include, at minimum:
- A written scope of work that lists the door model, the manufacturer (PGT, CGI, CWS, and ViewLux are lines we specify from, chosen by performance tier for the opening, not by what’s on a truck), the glass specification (U-factor, SHGC if applicable), and the rough opening prep.
- Photo documentation of the flashing sequence, the shimming at each side, the level readings on all four jambs, and the finished weatherstrip compression.
- The exact measurements used for the order, matching the measured survey the homeowner keeps – so if the door is the wrong size, there’s a document that shows why.
- Warranty terms in writing, including the labor warranty and what triggers a callback.
- A direct contact for the crew foreman or the warranty line, not just a general dispatch number.
When those items are missing, ask for them. An installer who can produce them is showing you that the job is defensible. An installer who can’t has nothing to fall back on when the door starts swinging on its own six months later. Our Sightline Windows & Doors Summerlin home page explains how the Haven Standard ties the written price, the measured survey, and the photo record into one document – and why the paperwork isn’t an afterthought but the whole point.
Common Mistakes to Avoid
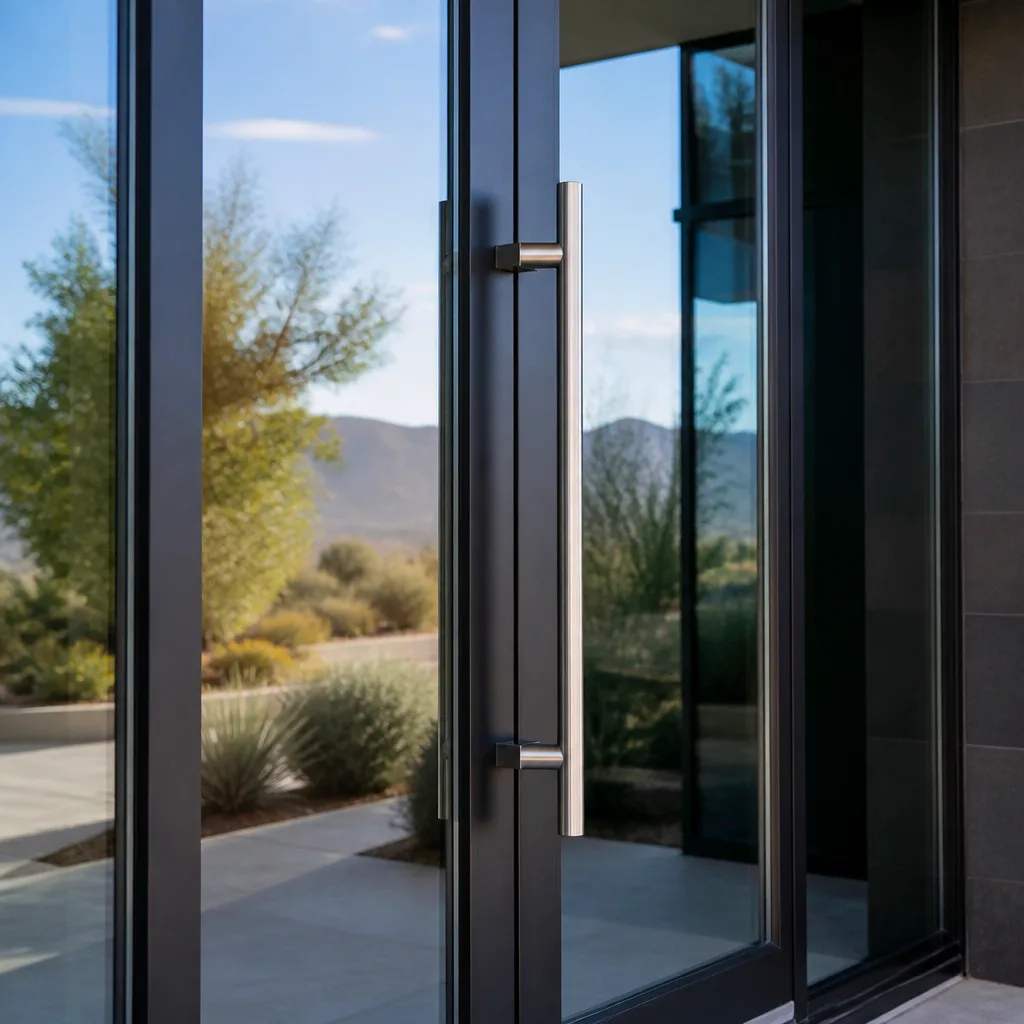
- Accepting a verbal “we’ll come back if there’s an issue.” If the callback promise isn’t in the written scope, it doesn’t exist. In Summerlin, where monsoon rain exposure is concentrated into a few weeks a year, a verbal warranty means you’re on your own when the water shows up in September.
- Assuming a tight door is a good door. A door that requires two hands to close is over-compressed weatherstripping, and the seal will wear out years early. It should close with one hand and latch cleanly.
- Not running the plumb test until the installer has left. Run it while they’re still on site. If the bubble is off, you want them to see it too.
- Confusing caulk with flashing. A neat bead of caulk around the exterior trim tells you nothing about what’s behind it. Ask for the flashing photos before the interior trim is installed.
- Ordering a replacement door off the existing opening measurements. An opening that’s out of square doesn’t tell you what size door to order – you have to square and measure the rough opening, or order to the tightest point and adjust. This is the #1 cause of oversized reveals we see on Summerlin door replacements.
- Skipping the second opinion because you like the salesperson. Bring a competitor’s written quote to a second installer and read them side by side. The gaps in the scope tell you more than the price does.
- Treating a signed invoice as documentation. It isn’t. It’s a receipt. Ask for the scope, the measurements, the photo record, and the written warranty before you make the final payment.
When to Call a Professional
Call a professional if any of the following apply: the door swings open or shut on its own and you can’t correct it with hinge adjustment; the reveal is uneven by more than 3/16 inch around the perimeter; you find water staining on the interior trim or a soft spot in the adjacent drywall; the hinges or strike plate have come loose within the first year; or the paperwork from the original install is missing the scope, the measurements, or the photo record. Door diagnosis gets into frame geometry, flashing integration, and rough-opening prep – all of which is guesswork without experience. Our technicians have up to 14 years of experience, and Sightline Windows & Doors Summerlin offers free estimates in Summerlin with a written price before any work starts. Call (844) 560-5201 to schedule.
Frequently Asked Questions
Check within the first week and again at the 30-day mark. Most installation defects – out-of-plumb frames, uneven reveals, loose hardware – are visible within the first 30 days, but they’re easier to correct the sooner you catch them. Run the plumb test and gap map on day one, while the installer is still on site, so you and they see the same readings.
It’s out of plumb. The frame is leaning, which means the shims weren’t set correctly, the rough opening wasn’t leveled before the frame went in, or the door was hung before the jamb was squared. Adjusting the hinges won’t fix it – the frame has to be reset. In Summerlin, this is one of the most common callback items we’re called to review, and it’s almost always present in the first 30 days.
It’s self-adhering tape that laps over the nailing fin and the rough-opening framing, applied in shingle order (bottom, then sides, then top), with each layer overlapping the one below. The sealant bead goes over the flashing as a weather-seal, not instead of it. Ask your installer for the flashing photos before the interior trim goes on, because once it’s covered you can’t verify it.
On a typical exterior door with partial weatherstripping engagement, the added cooling load runs about $35 to $70 a year at local utility rates. That’s the visible cost. The bigger issue is that a failing seal is an air and dust pathway and a sign the install wasn’t fitted correctly, which means a callback is likely. Call (844) 560-5201 for a free estimate if you want the seal evaluated.
Like-for-like door replacements within the same rough opening generally don’t require a permit, but a door that changes the opening size, moves a wall, or adds a new opening does. Rules can vary by jurisdiction, and a reputable installer will pull the correct permit when one is needed and show you the inspection paperwork. Ask before the job starts which permits apply, and get the answer in writing.
You can diagnose one. Whether you can fix it depends on the failure – hinge and strike-plate adjustments are within reach for a homeowner; a frame that’s out of plumb, uneven reveal from poor shimming, or bad flashing integration usually isn’t. Those are frame-reset jobs, and they need to start with a proper measurement of the opening. If the door was installed within the last year by a contractor with a written warranty, call them first. If the original installer is gone or the warranty is missing, call (844) 560-5201 for a free second opinion on the install.
The Bottom Line
Most door installation failures are visible within 30 days – they just need to be looked for. Plumb, reveal tolerance, flashing (not caulk), weatherstrip compression, hardware anchor, and written documentation: six checks, most of them under five minutes each, and any one failing tells you the install wasn’t done to spec. The evidence you want is in the photo record, the measured survey, and the written scope – not a signed invoice. If you’re evaluating a recent install in Summerlin or you want to start a replacement with a written price before anyone starts, Sightline Windows & Doors Summerlin is here. Read more on our Window Installation in Summerlin and Door Installation in Summerlin pages, or call (844) 560-5201 for a free estimate.
Contact
Call Sightline Windows & Doors Summerlin at (844) 560-5201 for a free estimate in Summerlin. Every job starts with a measured survey you keep and a written price before any work starts, backed by the 365-Day Done Right Promise under the Haven Standard. Bring us any competitor’s written quote for a free second opinion at no charge, and we’ll walk you through it line by line. One phone number, answered by a live person 24/7, and the price you see on paper is the price on the final invoice.
Written by the team at Sightline Windows & Doors Summerlin.
Six Reasons Homeowners Choose Sightline Windows & Doors Summerlin
Laminated glass and reinforced frames hold up to wind-driven rain, hail and flying debris, so your openings stay sealed when the weather turns.
Low-E insulated impact glass from our manufacturer lines commonly cuts monthly cooling bills 20-30%.
Laminated impact glass shuts out up to 40% of outside noise - traffic, neighbors, weather.
Monitoring services run $30-90 a month. Laminated impact glass resists forced entry around the clock, with no subscription.
Tighter seals and insulated glass even out hot and cold rooms and stop the drafts at the frame.
A full impact package upgrades curb appeal, buyer confidence and appraised value in one project.
Other Sightline Windows & Doors Summerlin Services