Last updated November 17, 2026
New windows and doors improve comfort, cut energy bills and add long-term value to your home. Sightline Windows & Doors Summerlin pairs proven product lines with a local vetted installing partner for lasting performance - and a price put in writing.
Choose your installer
The unit is half the job - the install is the other half. Background-checked local installers measure, set, seal and insulate every opening, and they know the lines we quote inside and out.
Select the right products
Compare styles, materials and glass packages side by side until the fit is right for your rooms, your budget and your goals. The product-line comparison below is the place to start.
Prepare your home for install
Before install day we walk you through a short checklist - furniture pulled back, treatments down, a clear path to each opening - so install day is watch-it-happen, not scramble.
Compare the Lines We Quote
Every project is priced on the same lines, side by side - the price indicators below are relative, and your consultant shows exact numbers on your actual openings.
PGTThe line homeowners arrive naming - the most impact certifications in the industry$$$
- More impact certifications than any other line we quote
- WinGuard, EnergyVue and ClassicVue Max systems built for every wind zone
- 99% on-time delivery keeps your install date on the calendar
CGIThe heavyweight impact line$$$$$
- Large-missile impact ratings for the strictest wind zones
- Architectural-grade aluminum with commercial-depth frames
- The line we quote when protection is the whole point
CWSThe value pick$$
- Vinyl systems built to strict wind codes
- Strong energy packages at the friendliest price point
- The smart start for whole-home replacements on a budget
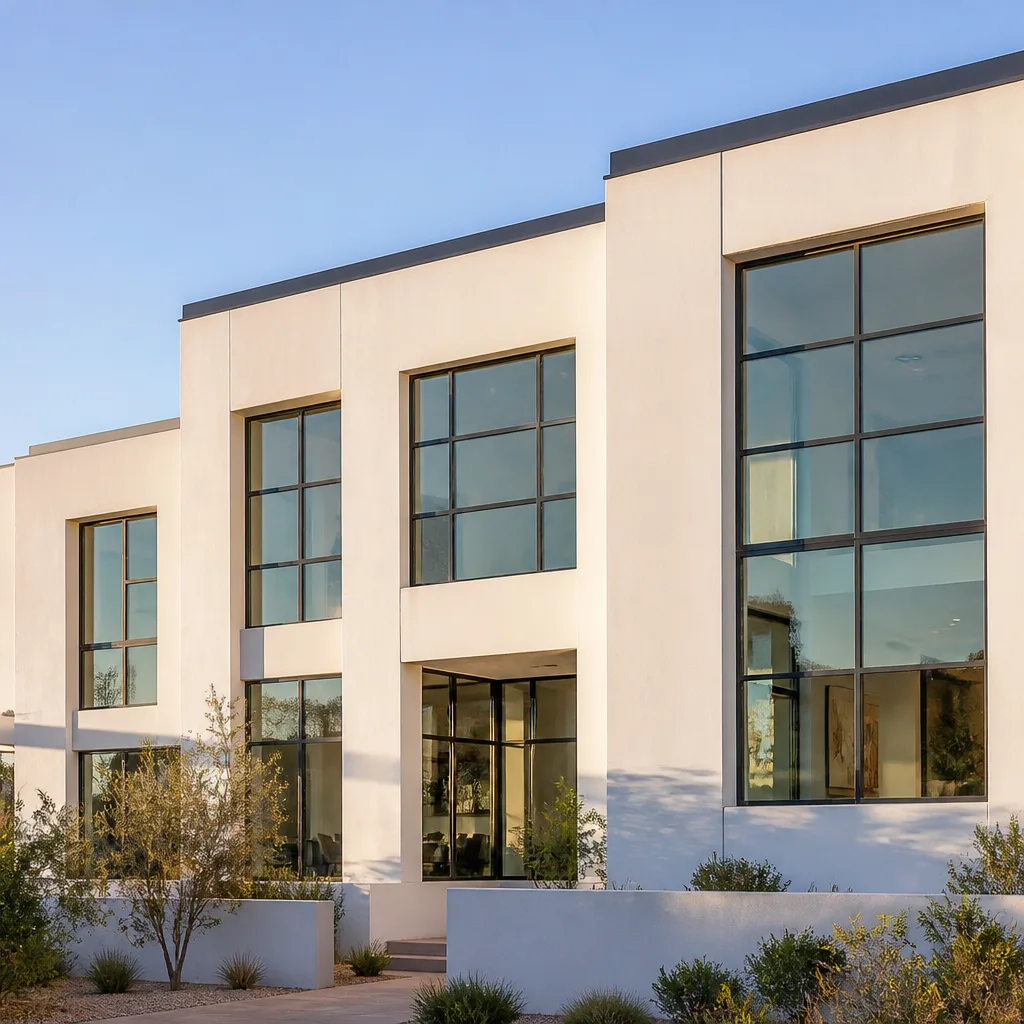
ESWSlim lines, big glass$$$$
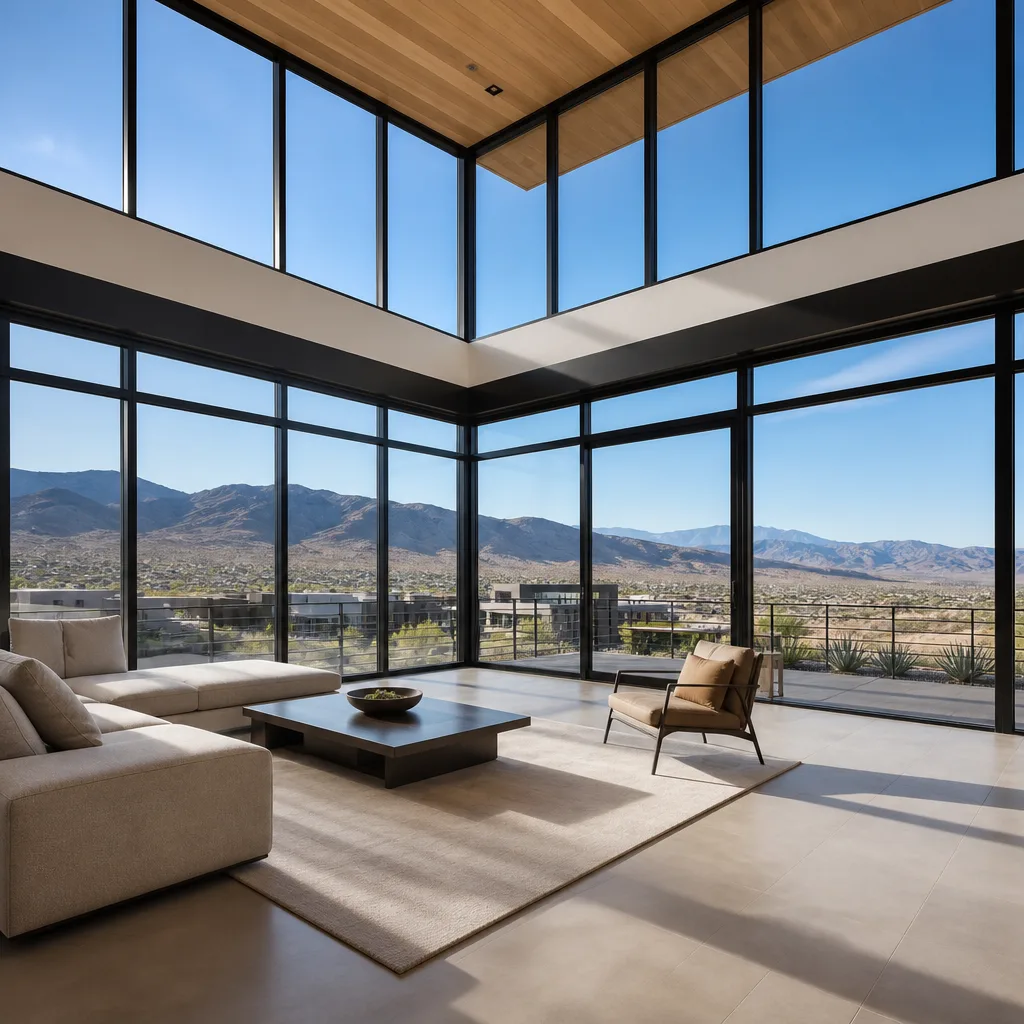
- Narrow-sightline aluminum for modern elevations
- Oversized openings and floor-to-ceiling glass
- Impact-rated without the bunker look
ECOThe aluminum impact workhorse$$$
- Factory-built aluminum impact systems
- A strong price-to-protection ratio for coastal homes
- Proven lines with short lead times
Door Installation Troubleshooting: Common Problems and How to Fix Them
A door that starts rubbing at the top corner eighteen months after installation wasn’t installed in a house that settled. It was installed with inadequate shim contact at the hinge jamb, and thermal cycling finished the job the installer started. We’ve seen this exact failure repeated across Summerlin, and it’s the most misdiagnosed door problem in the region. This guide maps the symptom to the specific installation step that was missed, so you can tell whether you’re looking at a $15 DIY fix or a frame that was never plumb to begin with. By the end, you’ll know which repair you actually need and which ones are throwing money at a symptom.
Quick Answer
Most door problems that appear 12 to 18 months after installation are defects present on day one, not settling or wear. Diagnose by symptom: rubbing at the top hinge corner points to inadequate shim contact at the hinge jamb; a door that latches but shows light at the stop is usually a frame or installation problem, not a strike plate adjustment; a threshold gap that widens seasonally signals a sagging threshold plate rather than a worn seal. Match the symptom to the missed installation step before paying anyone to fix a surface issue.
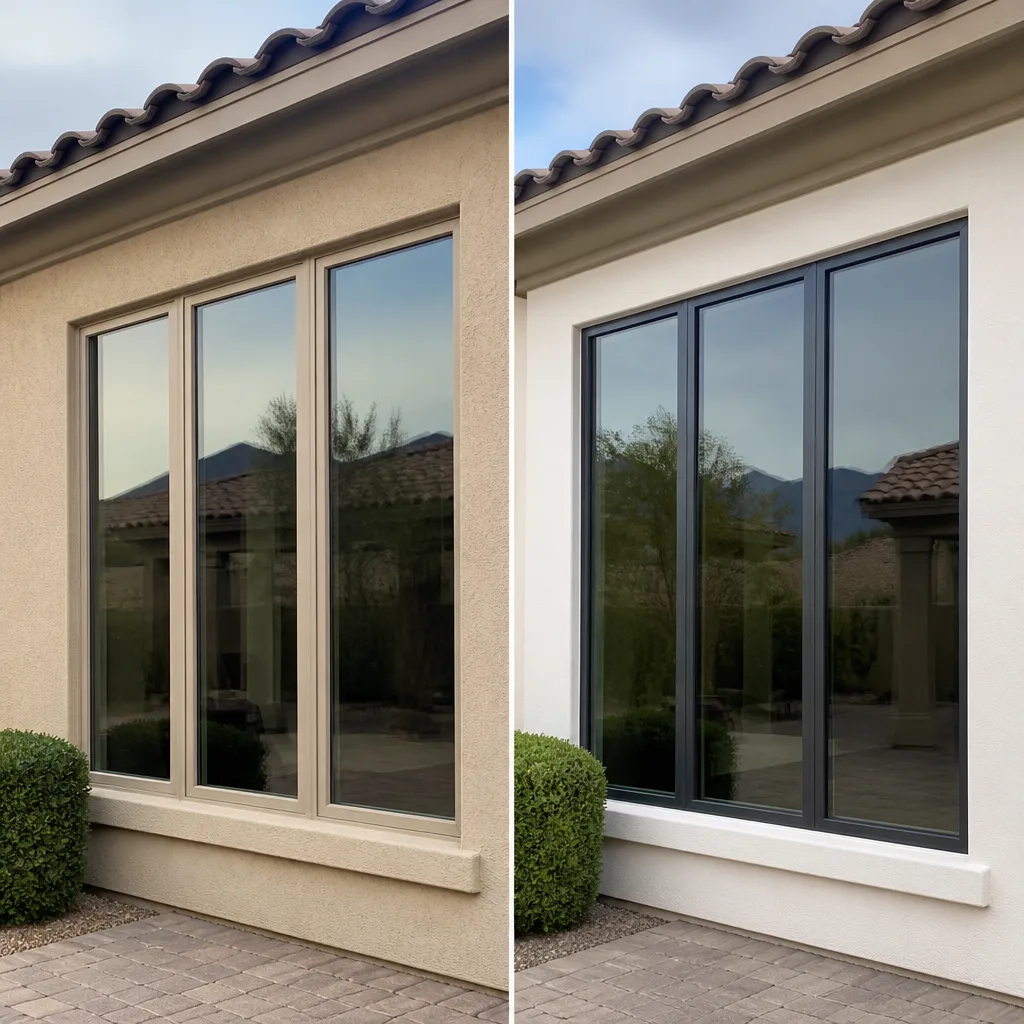
 Before
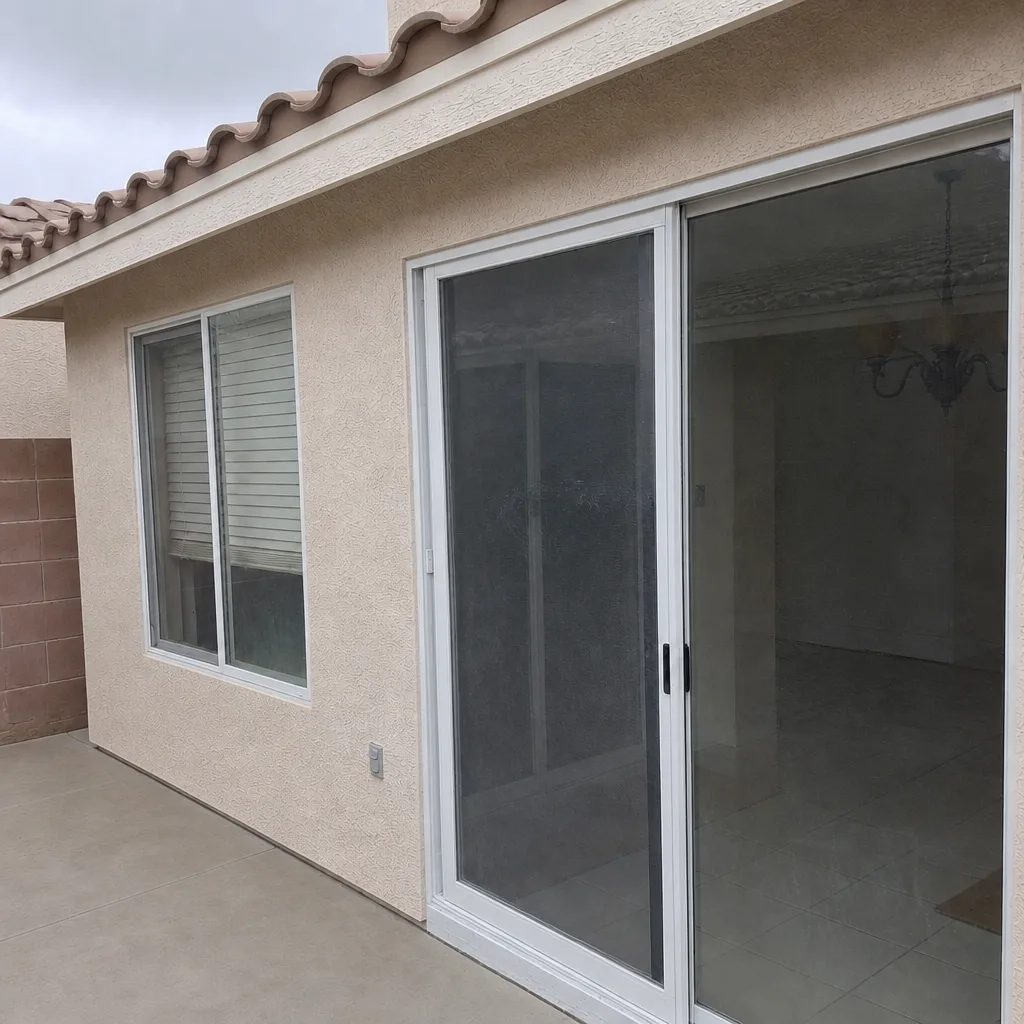 After
Table of Contents
- Hinge-Side Diagnostics: Tighten, Deepen, or Re-Plumb?
- Why Your Door Latches But Doesn’t Seal
- Threshold Gap Troubleshooting
- The Dollar-Bill Test for Weatherstripping Failure
- Water Intrusion: Finding the Active Entry Point
- Why Summerlin’s Climate Accelerates These Problems
- Common Mistakes to Avoid
- When to Call a Professional
Hinge-Side Diagnostics: Tighten, Deepen, or Re-Plumb?
When a door binds near the top hinge, there are three different repairs at three different cost levels, and choosing wrong means the binding returns within a season. The diagnostic sequence below tells you which one you’re facing before anyone touches a screwdriver.
Start by watching the door through its full swing with the door open about 45 degrees. Look at the gap between the door face and the jamb along the hinge side. A gap that’s even from top to bottom means the hinge screws have loosened and pulled slightly; a gap that narrows at the top means the jamb is out of plumb, which is a different animal entirely.
A hinge-screw tighten is the cheapest repair: usually under $75 as a service call, or a five-minute job with a screwdriver if you’re comfortable. Deepening the hinge mortise (setting the hinge leaf slightly deeper into the jamb) is a carpentry adjustment costing $100 – $180 and addresses a door that sits proud at one corner. Re-plumbing the jamb means pulling casing, resetting shims, and re-securing the frame, typically $250 – $500, and it’s the only correct fix when the frame was out of level from install.
- Open the door to 45 degrees and inspect the hinge-side gap top to bottom.
- Operate the door through its full swing and note where it contacts the stop.
- Check each hinge screw with a screwdriver; if any spin freely, the jamb may not have adequate shim contact behind the hinge.
- Use a 4-foot level on the hinge jamb; more than 1/8-inch out of plumb over the door height means re-plumbing territory.
- Match the finding to the repair: tighten for loose screws, deepen for proud leafs, re-plumb for a level finding out of tolerance.
In Summerlin homes built between 2015 and 2025, we’ve found hinge jamb shimming to be the single most common installation miss. The door was hung on a frame that only had contact at top and bottom of the jamb, not at every hinge. It holds for a year, then Summerlin’s daily temperature swing of 30 degrees or more works the frame, and the door starts rubbing at the top corner. Our Door Installation in Summerlin jobs all start with a measured survey that flags hinge jamb shim contact before installation, which is the only reliable way to prevent this failure.
Why Your Door Latches But Doesn’t Seal
A door that closes and latches cleanly but shows daylight at the stop is a different failure than a door that won’t latch. Homeowners reach for the strike plate first, and about 30% of the time that’s correct. The other 70%, the strike plate is a symptom of a frame that warped or wasn’t set true at installation.
Run a visual check first. Close the door and look at the gap between the door face and the weatherstrip. Light visible at the top corner, bottom corner, or along the hinge side is the giveaway. Then check the latch alignment: does the latch bolt hit the strike plate dead center, high, or low? If it’s centered and the door still doesn’t seal, the strike plate isn’t the problem.
- Strike plate misalignment (30% of cases): Latch bolt rides high or low; the strike plate slot needs filing or the plate moving. Fifteen-minute fix, usually free if the installer comes back.
- Frame warp (30%): The door body has twisted slightly; you’ll see light at opposing corners (top-hinge and bottom-strike, or vice versa). Manufacturer warranty issue on doors less than a year old, installation issue after.
- Installation out-of-square (40%): The frame wasn’t set square at install; the door and stop gaps vary top to bottom. Re-shimming required.
We’ve seen this pattern repeated in Summerlin homes facing west, where afternoon sun drives door slab temperatures high enough to warp a door that wasn’t shimmed to hold. A door of CWS or ES Windows construction has a specific tolerance for shim spacing; when the installer skips a shim, the frame doesn’t have the structural contact to resist the warp cycle. The failure shows up around month 14, which is why so many homeowners assume settling.
Before you accept a “settling” diagnosis from anyone, ask for the finding in writing: the actual gap at the top of the stop, the level reading on the jamb, and the shim contact points. If they can’t document it, they’re guessing. Our Sightline Windows & Doors Summerlin home page outlines the surveyed measurements every job starts with, which gives you the baseline to argue from.
Threshold Gap Troubleshooting
A gap under a closed door has three common causes, and only one is a $15 DIY fix. The others are installation defects that will keep coming back until you fix the underlying issue.
The easy test: shine a flashlight along the floor under the closed door from inside, and look for the light leak in a dim room. Run your hand along the threshold plate under the door. If the door bottom seal is worn, you’ll see visible damage or crushing to the sweep; replacement weatherstripping for a standard 36-inch door runs $12 – $25 and takes 10 minutes with a hacksaw and screwdriver.
If the threshold plate itself is not level, or it rocks when you step on it, that’s a different problem. A sagging threshold plate is a shimming failure at install; the threshold wasn’t bedded on continuous shim support, so the weight of the door and traffic eventually pushes it down. You’ll feel the rock, and the gap under the door will vary as you move across the threshold. Repairing it properly means lifting the threshold, adding shims at the correct intervals, and re-sealing; $180 – $350 as a service call.
The third cause is frame settling: the whole frame has dropped on one side, which tilts the threshold and the door body together. If the door bottom seal is fine, the threshold plate is solid, but the door still shows a gap, look at the top and hinge gaps. All three misaligned means the frame moved, and re-plumbing the jamb is the correct repair.
Homes with wood subfloors and finished concrete slab-on-grade (typical of newer Summerlin construction in communities like The Ridges and Redpoint) have another threshold consideration: any moisture migration under the finished floor will eventually work the threshold loose. If you see a recurrent threshold gap in a slab home, the fix usually includes checking the sill pan flashing, covered below.
The Dollar-Bill Test for Weatherstripping Failure
The weatherstripping on a door is only functional where it makes continuous contact with the door slab. A dollar-bill test tells you exactly where that contact has failed, and it works on all four sides of the door in about two minutes.
- Close the door fully, latch it, and lock it.
- Slide a dollar bill (or a business card) into the gap between the door slab and the weatherstrip at the top jamb, about 6 inches from the hinge corner.
- Try to pull it out with light resistance. It should drag; if it slides freely, the weatherstrip isn’t making contact there.
- Repeat at three points per side: 6 inches from each corner and mid-side.
- Mark the points of no contact with a small piece of painter’s tape on the door face.
Continuous drag on all twelve points means the weatherstrip is doing its job. Free slide on one or two adjacent points signals a worn or flattened weatherstrip section. Free slide on many points in one continuous zone signals a door or frame out of alignment: the strip is fine, but the door isn’t sitting where it should.
Standard door weatherstripping (kerf-in, adhesive, or compression) fails at different rates. Adhesive foam strip is the cheapest at $10 – $20 and lasts 3 to 5 years in Summerlin’s UV load. Kerf-in vinyl or rubber runs $25 – $50 for a standard door and lasts 8 to 12 years. Magnetic or compression seals on high-end exterior doors (some Therma-Tru lines we install include these) go 15 years with care and are usually worth replacing rather than rebuilding.
We perform this test as part of every second-opinion review we do, and the pattern in Summerlin is consistent: doors installed with a compressed or missing weatherstrip segment at the strike side, which then shows as a high wind and dust leak within the first winter. The dollar bill finds it in two minutes. Replacing the strip is one fix; correcting the alignment that caused the strip to compress is the other, and only one of those keeps the leak from returning.
Water Intrusion: Finding the Active Entry Point
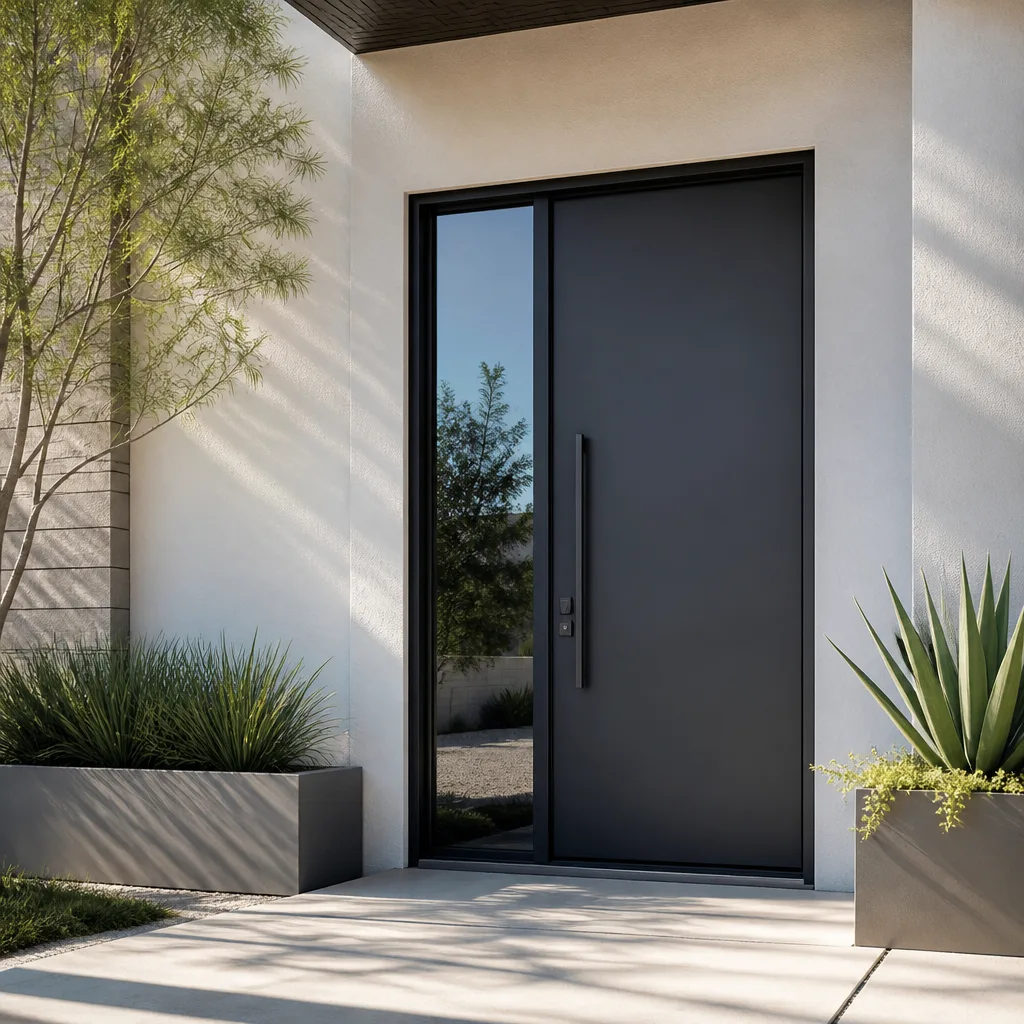
Water intrusion around a door is always one of three active points: the sill pan flashing under the threshold, the head flashing above the top casing, or the sidelite frame joint where a sidelite meets the door frame. Each shows characteristic symptoms, and each requires a different repair.
Sill pan flashing is the membrane that sits under the threshold and laps up the framing on both sides. If it was installed without the required 2-inch vertical lap, or without a sloped back pan, water that gets past the threshold (from wind-driven rain, sprinkler spray, or hose washdown) has nowhere to drain except into the wall cavity. The sign: water staining or soft drywall directly below the door on the interior, or discoloration at the sill on the exterior. Repair is significant (re-set threshold, add flashing) and runs $400 – $900.
Head flashing above the door is the drip cap that carries water away from the casing. Missing head flashing or improperly lapped head flashing lets water run behind the siding; the sign is a drip line visible on the casing below the head, or staining on the interior wall above the door. Fix runs $200 – $500 depending on how much siding has to come off.
Sidelite frame joint is where a fixed glass sidelite joins the door frame. The joint is sealed, but the sealant has a service life. On an unshaded east or west elevation in Summerlin, UV degradation of the joint sealant typically shows within 5 to 7 years. The sign: water at the sill near the sidelite, or a visible gap in the joint when you inspect it in good light. Re-sealing runs $150 – $350.
Before you call anyone, identify the active point. Run water along the threshold one afternoon and check for interior moisture within an hour; then repeat along the head, then along the sidelite joint. Whichever one produces interior water is your active leak. This saves you paying for a full re-flash when the problem is a $200 re-seal. We document all three entry points in our photo record on every Window Replacement in Summerlin job that includes coordinated door work, because the two systems share flashing and one failure often traces back to the other.
Why Summerlin’s Climate Accelerates These Problems
Summerlin’s climate loads doors in ways most installation guides don’t account for. Summer daytime highs regularly top 105°F in July and August; winter mornings dip into the 30s in the same neighborhoods. That 70-degree annual swing, cycling daily, is what turns a small installation miss into a visible failure within 18 months.
The seasonal specifics:
- West-facing doors in Summerlin reach slab surface temperatures that cycle the door body harder than any other exposure. West elevations in The Ridges, Redpoint, and on the eastern slopes of the Spring Mountains see the highest thermal swing. A door without adequate hinge jamb shim contact will warp first on this elevation.
- Spring and fall dust storms press fine sand into improperly sealed weatherstrip. The abrasion then wears the seal faster than UV alone would. Doors on the windward side of a Summerlin property (west to south elevations typically) show twice the weatherstrip wear of leeward doors.
- Monsoon-season (July – September) rain arrives in short, high-intensity bursts. This is what activates sill pan flashing failures: less rain falls than leaks, because the volume is concentrated in twenty-minute windows. A 3/4-inch rain over 20 minutes activates a bad sill pan that a gentle all-day rain never would.
- Hard water from landscape irrigation deposits mineral scale on the threshold plate and kick plate. That scale accelerates the failure of the threshold plate sealant; we routinely see this on Summerlin doors within three years of install.
None of this is a reason to expect door problems. It’s a reason to check for the specific installation steps that have to be right in Summerlin’s climate: shim contact at every hinge, continuous sill pan contact, and a door slab with a finish rated for local UV load. If you’re comparing installers, ask them directly what shim spacing they use, what sill pan configuration they specify, and what finish warranty comes with the door. If they can’t answer in writing, that’s your answer. Our Window Installation in Summerlin specification sheet is the same one our door crews work from, and it names each of these points in writing.
Common Mistakes to Avoid
- Diagnosing as “settling” without checking shims. The word “settling” is comfortable because it hands the blame to gravity, not the installer. In our experience across Summerlin, fewer than one in five rubbing doors actually show frame movement; the rest show inadequate shim contact.
- Replacing the door when the frame is the problem. A replacement door hung on an out-of-square frame will bind within a season. Investigate the frame before ordering a $2,000 door.
- Tightening hinge screws deeper without addressing the shim. Over-tightening into inadequate backing pulls the hinge leaf into the jamb and makes the binding worse. Add shim behind the jamb before re-driving the screw.
- Caulking over an active water leak. Sealant over a flashing defect traps water in the wall cavity. The leak will find a new exit behind the drywall within months; fix the flashing, not the symptom.
- Skipping the dollar-bill test on all four sides. Homeowners test one side and assume the whole seal is good. Summerlin’s wind-driven dust and seasonal UV cause non-uniform failure; test all twelve points.
- Buying a threshold replacement kit before checking the plate. A sagging threshold plate needs shims and re-bedding, not a new part. The threshold plate on most doors is salvageable once it’s supported correctly.
- Accepting a verbal diagnosis on warranty work. If an installer says “settling” or “normal wear,” get the finding in writing: measured gaps, level readings, and shim contact. Without documentation, you’re paying to fix a symptom while the cause continues.
When to Call a Professional
Call a professional if you see any of the following: water staining or soft drywall below or beside the door (active leak), a door that binds at multiple points or feels structurally loose in the frame, a frame more than 1/8-inch out of plumb over the door height, or a sidelite frame joint that’s been re-sealed once and failed again. Those scenarios require tools and trade skill that a homeowner shouldn’t attempt, and the diagnostic work matters as much as the repair. If you’ve already had an installer visit and offered a diagnosis you’re not confident in, a second opinion is worth the time: our Window Installation in Summerlin team performs written second-opinion reviews on existing estimates at no charge, so you’re comparing findings, not verbal impressions. Sightline Windows & Doors Summerlin offers free estimates in Summerlin: call (844) 560-5201 to schedule one and get the finding documented in writing before any work starts.
Frequently Asked Questions
It depends on which repair you actually need. A hinge-screw adjustment runs $50 – $100 as a service call. Deepening a hinge mortise runs $100 – $180. Re-plumbing a jamb runs $250 – $500, which is why identifying the correct repair first matters. Most Summerlin rubbing-door calls we see fall in the $100 – $350 range for the correct fix once shim contact is restored. Call (844) 560-5201 for an exact quote: estimates are free.
Light visible at the stop when the door is latched means the door slab isn’t making continuous contact with the weatherstripping. About 30% of the time it’s a strike plate misalignment, and moving or filing the strike plate resolves it. The other 70%, the frame is warped or wasn’t set square at install, and no strike plate adjustment fixes that. The dollar-bill test tells you which one; call (844) 560-5201 to schedule an assessment.
Probably, but it depends on what the diagnosis finds. If the installation was done with inadequate hinge jamb shim contact, that’s an installation defect and should be covered under the installer’s workmanship warranty. Our 365-Day Done Right Promise covers any installation issue we caused for a full year, and we stand behind our work outside that window with a written remedy. For an existing installation by another company, get the diagnosis documented in writing before you claim.
Test whether the threshold plate rocks when you step on it. A plate that rocks or shows a gap under it needs re-shimming and re-bedding, typically $180 – $350, not replacement. A threshold plate with visible corrosion, cracked aluminum, or a warped profile needs replacement. Most Summerlin threshold calls we see are re-shim jobs, not replacements. Call (844) 560-5201 for a free assessment.
Run water separately along the threshold, then the head casing, then the sidelite frame joint, checking for interior moisture within an hour after each. Whichever one produces interior water is your active leak. Sill pan repairs run $400 – $900, head flashing repairs $200 – $500, sidelite joint re-sealing $150 – $350, so identifying the active point first saves significant money. Call (844) 560-5201 if you’d rather have it identified professionally with photo documentation.
Not typically. A door diagnosis requires the measured survey, the finding in writing, and the correct repair parts, which we spec to the actual door. What we guarantee is the price is written before any work starts, so the call follows the diagnosis rather than the other way around. If you’ve already had a diagnosis elsewhere, bring us the estimate and we’ll review it at no charge before you commit.
The Bottom Line
Door problems that appear a year and a half after installation are, in our experience, defects from day one: hinge jamb shims that were skipped, weatherstrip compressed by a door that wasn’t squared to the frame, sill pan flashing that never had the correct vertical lap. Diagnose by symptom, not by history: run the dollar-bill test on all four sides, check the hinge gap and jamb plumb, verify the threshold plate is solid, and confirm the active water entry point before paying for a repair. The measurement and the quote should be the same document, and the finding should be documented in writing before anyone touches the door. If the summer installers Door Installation in Summerlin don’t give you that, keep looking.
If you’ve got a door that’s telling you something’s wrong, the fastest path forward is a free estimate and a written finding. Call Sightline Windows & Doors Summerlin at (844) 560-5201 to schedule a free estimate, and we’ll put the measurement, the diagnosis, and the price in writing before any tool comes out.
Written by the team at Sightline Windows & Doors Summerlin.
Six Reasons Homeowners Choose Sightline Windows & Doors Summerlin
Laminated glass and reinforced frames hold up to wind-driven rain, hail and flying debris, so your openings stay sealed when the weather turns.
Low-E insulated impact glass from our manufacturer lines commonly cuts monthly cooling bills 20-30%.
Laminated impact glass shuts out up to 40% of outside noise - traffic, neighbors, weather.
Monitoring services run $30-90 a month. Laminated impact glass resists forced entry around the clock, with no subscription.
Tighter seals and insulated glass even out hot and cold rooms and stop the drafts at the frame.
A full impact package upgrades curb appeal, buyer confidence and appraised value in one project.
Other Sightline Windows & Doors Summerlin Services
What Neighbors Say About Sightline Windows & Doors Summerlin