Last updated November 17, 2026
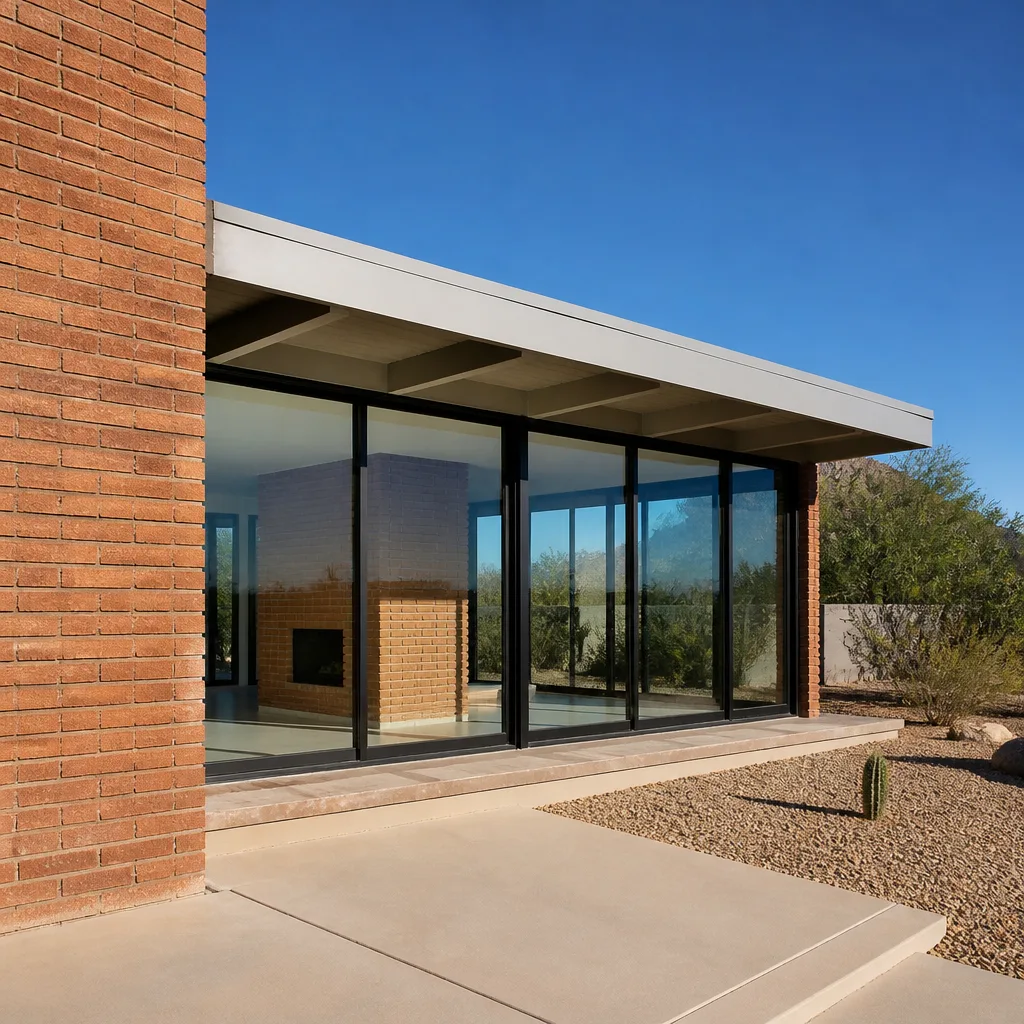
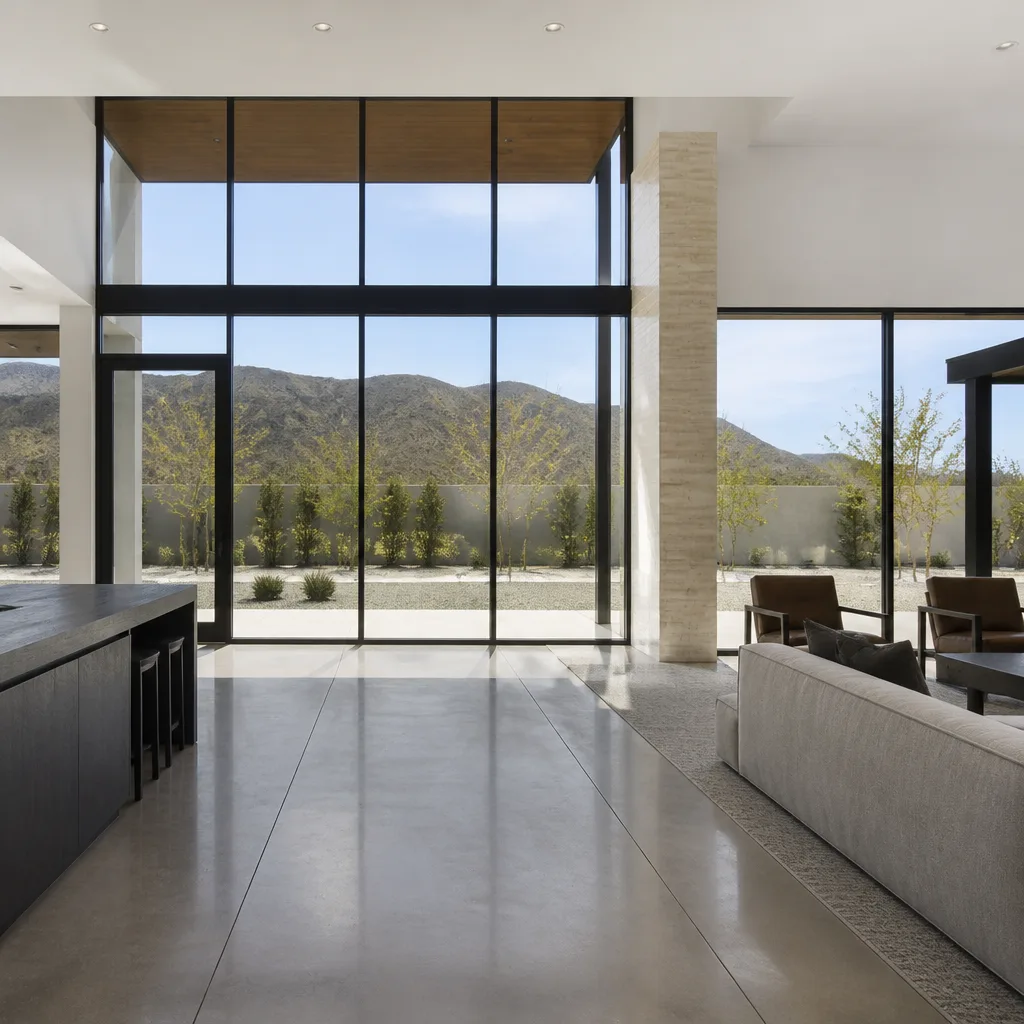
New windows and doors improve comfort, cut energy bills and add long-term value to your home. Sightline Windows & Doors Summerlin pairs proven product lines with a local vetted installing partner for lasting performance - and a price put in writing.
Choose your installer
The unit is half the job - the install is the other half. Background-checked local installers measure, set, seal and insulate every opening, and they know the lines we quote inside and out.
Select the right products
Compare styles, materials and glass packages side by side until the fit is right for your rooms, your budget and your goals. The product-line comparison below is the place to start.
Prepare your home for install
Before install day we walk you through a short checklist - furniture pulled back, treatments down, a clear path to each opening - so install day is watch-it-happen, not scramble.
Compare the Lines We Quote
Every project is priced on the same lines, side by side - the price indicators below are relative, and your consultant shows exact numbers on your actual openings.
PGTThe line homeowners arrive naming - the most impact certifications in the industry$$$
- More impact certifications than any other line we quote
- WinGuard, EnergyVue and ClassicVue Max systems built for every wind zone
- 99% on-time delivery keeps your install date on the calendar
CGIThe heavyweight impact line$$$$$
- Large-missile impact ratings for the strictest wind zones
- Architectural-grade aluminum with commercial-depth frames
- The line we quote when protection is the whole point
CWSThe value pick$$
- Vinyl systems built to strict wind codes
- Strong energy packages at the friendliest price point
- The smart start for whole-home replacements on a budget
ESWSlim lines, big glass$$$$
- Narrow-sightline aluminum for modern elevations
- Oversized openings and floor-to-ceiling glass
- Impact-rated without the bunker look
ECOThe aluminum impact workhorse$$$
- Factory-built aluminum impact systems
- A strong price-to-protection ratio for coastal homes
- Proven lines with short lead times
The Complete Window Installation Guide for Summerlin Homeowners
A standard vinyl window installed correctly in Portland will fail prematurely in Summerlin. Not because of the window – because the installation spec wasn’t written for a desert with a 60°F daily temperature swing. The same frame, same glazing, same flashing tape, installed to a coastal tolerance, will start letting in dust and heat within three summers here. What separates a Summerlin window that lasts 25 years from one that leaks at year four usually isn’t the product. It’s whether the installer accounted for stucco cladding, 115°F frame expansion, and sealant chemistry that survives past 110°F. This guide walks through every phase of the process the way a Summerlin home actually presents it.
Quick Answer
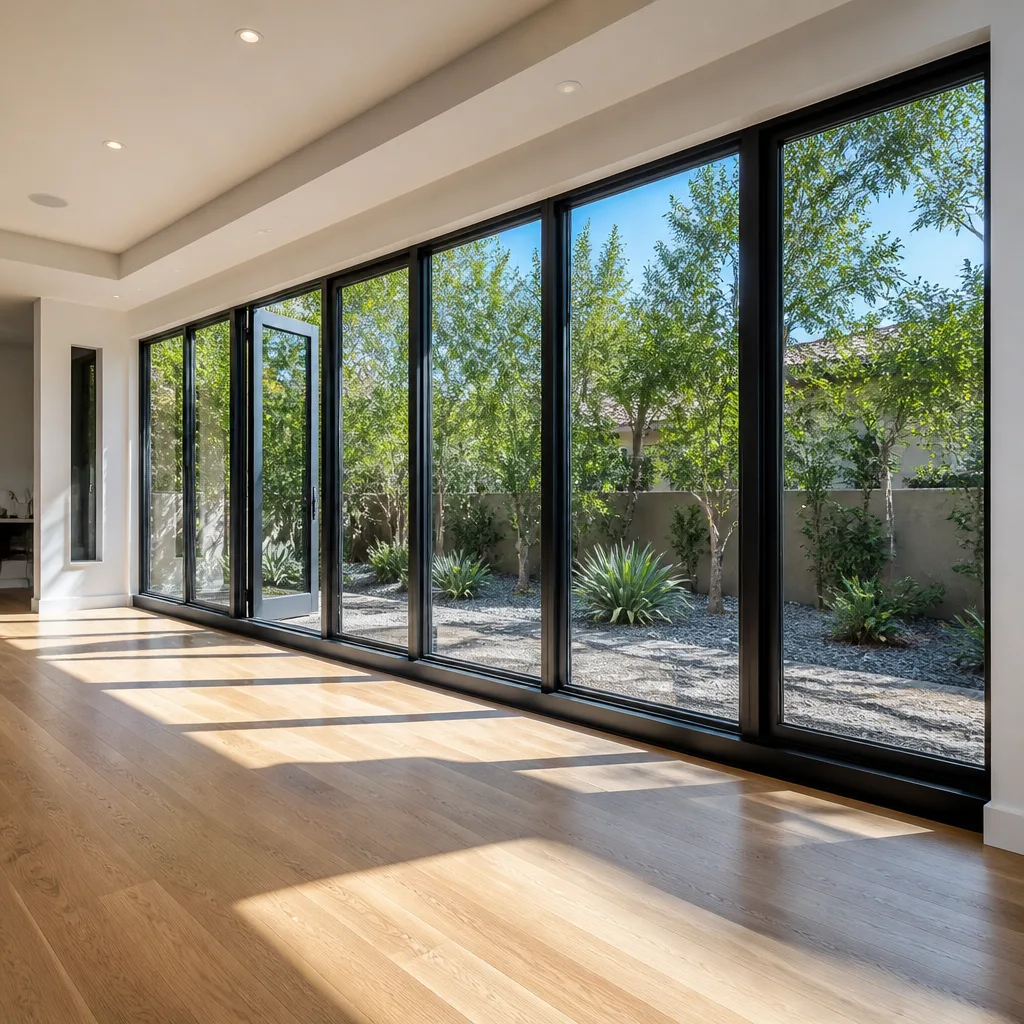
Window installation in Summerlin requires a measured survey, a written quote tied to that survey, stucco-specific flashing detail, and vinyl expansion gaps sized for a desert temperature range rather than a coastal one. Most Summerlin tract homes use stucco over wood frame, which changes both rough-opening prep and the pan-flashing sequence. Clark County generally does not require a permit for like-for-like window replacement that keeps the same opening size, but does require one when the opening is enlarged, when the structural header changes, or when egress dimensions are affected. The single biggest predictor of long-term performance here is whether your installer wrote the spec for the Mojave.
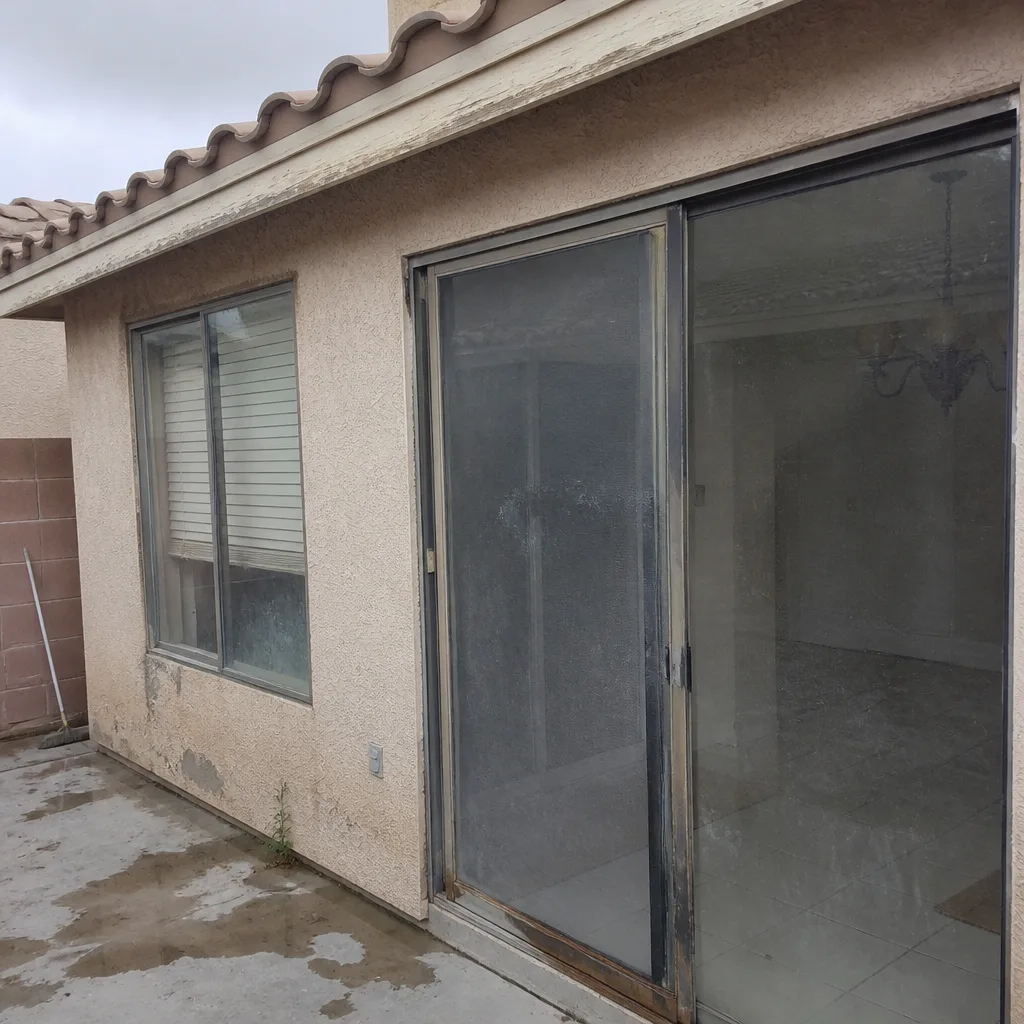 Before
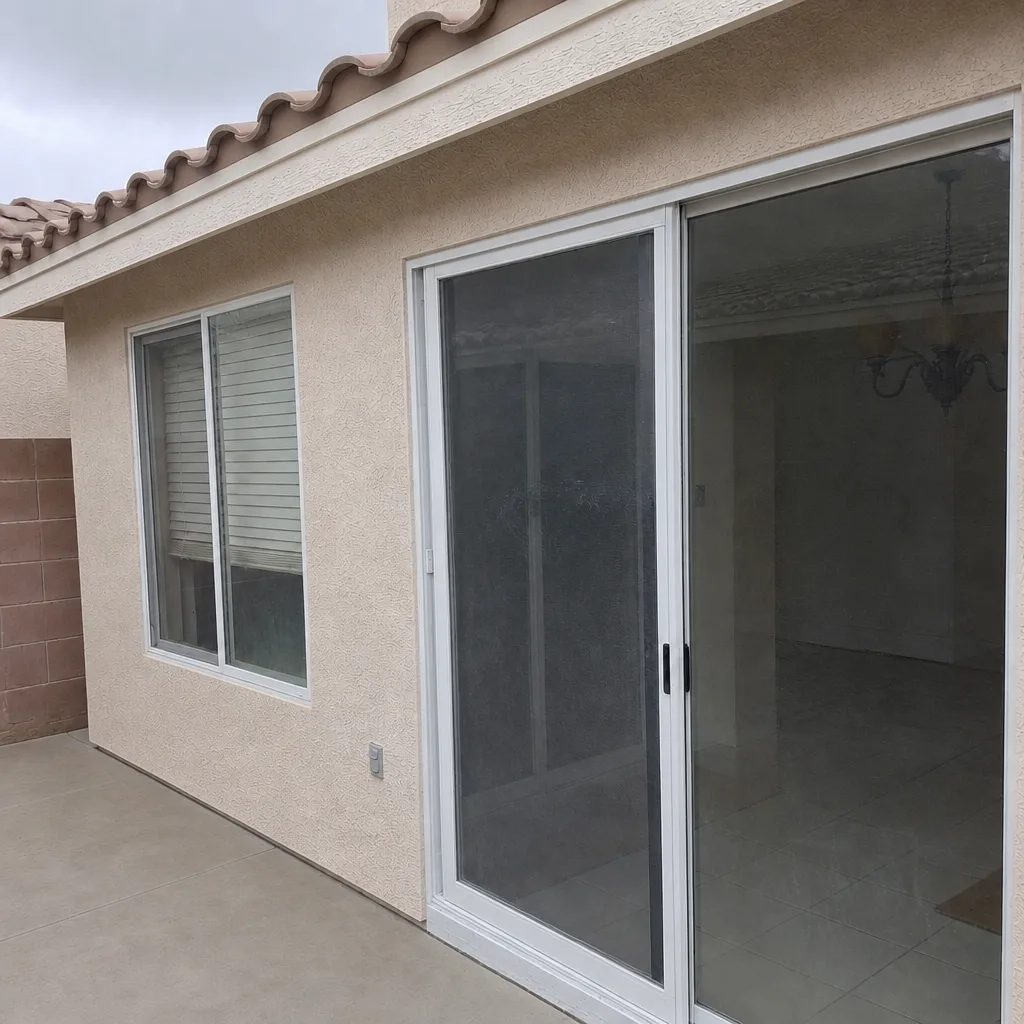 After
Table of Contents
- Why Stucco Cladding Changes Everything in Summerlin
- The Flashing Pan Sequence That Most Guides Skip
- Sealant Chemistry: What Survives 110°F and What Doesn’t
- Expansion Gap Math for Vinyl Frames in a Desert Climate
- Clark County Permit Thresholds for Window Replacement
- How to Read a Measured Survey Document
- How to Verify Your Quote Matches the Openings
- The Installation Process, Step by Step
Why Stucco Cladding Changes Everything in Summerlin

Walk through almost any Summerlin tract neighborhood – The Ridges, Red Rock Country Club, Redpoint, even the older sections of Sun City – and you’re looking at stucco over wood frame. Stucco is a cementitious skin, generally three coats over lath, applied to a weather-resistive barrier over sheathing. It’s a great exterior in the desert: it sheds UV, holds color, and resists the wind-driven dust that comes off the Spring Mountains. But it changes window replacement in ways that a national installation guide rarely accounts for.
When you cut stucco to remove and replace a window, you are cutting a brittle, cement-based material that doesn’t flex. The edges crumble. Thin lath wire is exposed. And the completed opening now has a rough, uneven substrate that a nail-fin window cannot simply slide into and be caulked like a wood-sided home in the Midwest. The installer has to manage three separate conditions that a wood-frame exterior doesn’t present:
- Stucco return detail: The new window frame sits proud or flush to the existing stucco plane, and the gap between frame and stucco must be detailed to a consistent depth so caulk adhesion is reliable.
- Lath exposure: Any cut lath that remains visible must be trimmed and the cut protected from moisture wicking into the wall cavity.
- Weep continuity: Stucco walls rely on a drainage plane behind the skin. The new window’s flashing must tie into the weather-resistive barrier and drain water back out, not into the wall assembly.
In our experience, the stucco-return detail is where bad installs show up first. A window set flush against fresh stucco with a bead of caulk smeared across the joint will look fine for the first year, then develop a hairline crack along the perimeter as the stucco and frame expand and contract at different rates. That crack is the entry point for the dust that ends up on your window sills every spring.
The Flashing Pan Sequence That Most Guides Skip
Flashing pans exist to do one thing: move water out of the rough opening and away from the wall assembly. In Summerlin the water event is rare but consequential. A single summer monsoon can drop an inch in twenty minutes, and if the flashing wasn’t detailed correctly, that water doesn’t drain out – it sits against the sheathing for weeks under a 110°F stucco wall while mold colonizes.
Here’s the sequence that actually works on a Summerlin stucco home, in order:
- Weep the rough sill first. A sloped sill pan, either formed from flashing tape or a pre-made rigid pan, with the slope running to the exterior.
- Tape the sides. Flashing tape runs up the jack studs and across the sill pan, shingle-lapped so water flows outward, not backward.
- Head flashing last, above the window. Head flashing goes on last and laps over the side tapes, never under them. Getting this order wrong drives water behind the flashing.
- Tie into the weather-resistive barrier. The new flashing must overlap the existing WRB by at least 2 inches in a shingle-lap pattern, above.
- Backer rod and sealant at the perimeter. Not a fat bead of sealant alone. A backer rod puts the sealant at a consistent depth and lets it flex with the frame.
This is the sequence that gets skipped. On sales walks for other installers’ jobs, we regularly find tape lapped the wrong direction, no sloped sill pan, and head flashing tucked under the side tapes. None of those fail immediately. They fail on the first monsoon after year three, when the wall cavity is wet and the homeowners are inspecting the ceiling of the room below the window.
Sealant Chemistry: What Survives 110°F and What Doesn’t
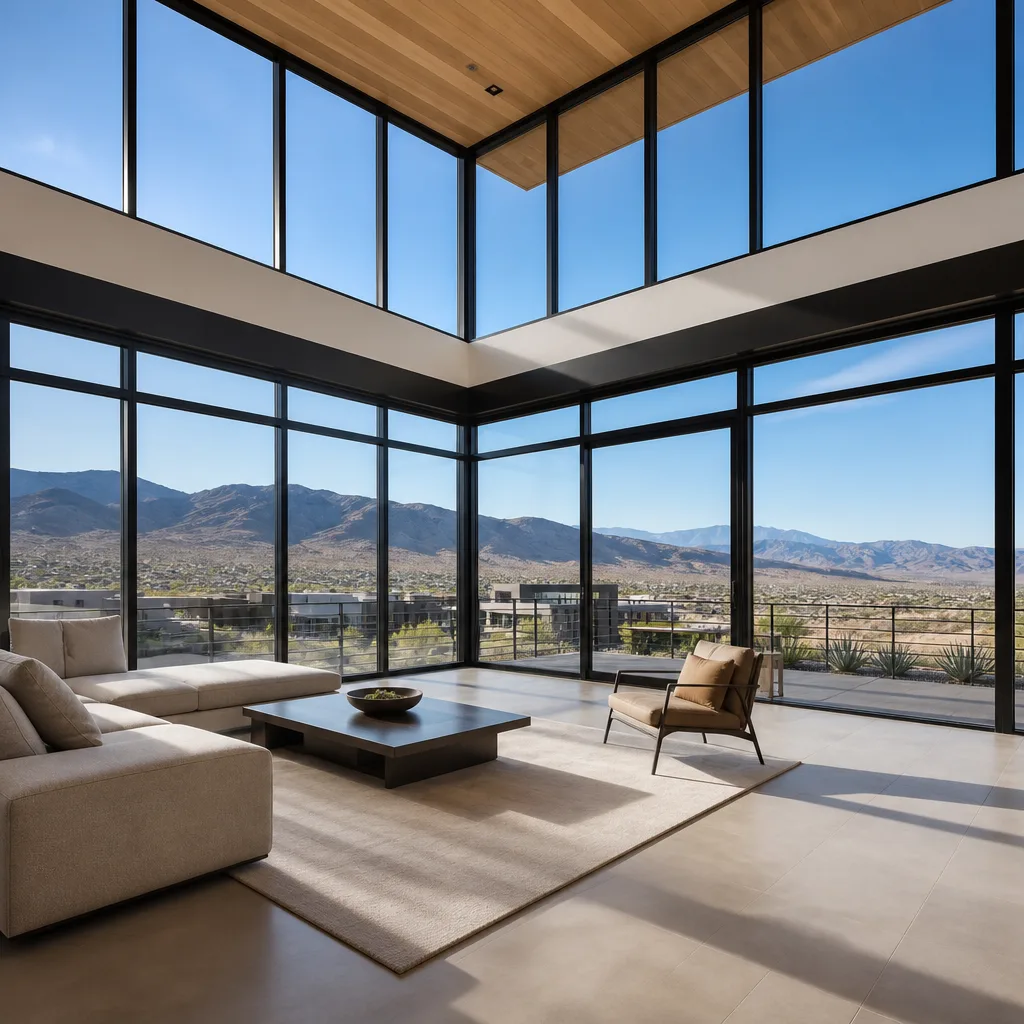
Most sealant in a big-box window aisle is acrylic latex. It’s easy to tool, easy to paint, and it will be chalky and cracked within two summers in Summerlin. Acrylic is a fine interior sealant. On a sun-facing exterior wall that reaches 160°F surface temperature in July, it becomes brittle and pulls away from the frame within 24 months.
What holds up in the Mojave, listed by class and typical price range per 10 oz tube (Summerlin supply-house pricing, mid-2026):
- Solvent-based urethane (Sika Sikaflex 1a, Tremco Dymonic 100): $14-$22 per tube. The best exterior sealant for stucco-to-frame joints. Adhesion to both surfaces is excellent, movement capability is high (roughly ±25%), and it holds past 180°F. Cures slower than you might expect – some dust pickup is normal. Reads strong chemical until fully cured.
- Low-modulus silicone (Dow 795, GE SCS2000): $16-$26 per tube. Excellent UV stability and temperature resistance past 200°F. The weakness is paintability – silicone doesn’t take paint, so it’s the wrong choice for the stucco return if you want a uniform finish. Good choice at the back of a vinyl frame where the sealant is hidden.
- Hybrid polymer (Sashco Lexel, DAP Dynaflex Ultra): $11-$18 per tube. Solid middle ground. Paints well, movement capability around ±25%, UV-stable, adheres to vinyl without a primer. A defensible choice for the entire perimeter on a Summerlin home.
- Acrylic latex (any brand): $6-$10 per tube. Fine indoors. Don’t let it near an exterior stucco joint in Summerlin. Brittle within two summers.
The tell on a future problem is a spec sheet that doesn’t name the sealant. A written quote should say the sealant brand and product, not “caulk.” It’s a small detail and it’s the one that determines whether your window perimeter is watertight in year five or held together by dust and hope.
Expansion Gap Math for Vinyl Frames in a Desert Climate
Vinyl is a thermoplastic. It gets longer when it’s hot and shorter when it’s cold, and the coefficient of thermal expansion for rigid PVC is roughly 3.0 × 10⁻⁵ per °F. That’s a small number that produces large movement on a full-size window frame. On a 72-inch-wide vinyl frame seeing a surface-temperature swing of 100°F (roughly 120°F in July sun to 20°F on a January night – Summerlin sees both), the frame moves about 0.22 inches. On a 96-inch slider, the movement approaches 0.29 inches.
Standard coastal-spec installation guidance says 1/4 inch of expansion gap at each jamb, sometimes 3/16 inch. That math is built for a place where the seasonal temperature range is maybe 40°F. In Summerlin, a 1/4-inch gap at each jamb on a 96-inch slider leaves roughly 0.21 inches of margin over the calculated movement – which sounds fine until you account for imperfect installation centering and the added pressure of direct afternoon sun on a west-facing wall in The Ridges. The frame buckles against the rough opening. The sash stops sliding true. Five years in, the homeowner is calling an installer to fix a “bad window” that was never the product’s fault.
What a desert-appropriate installation looks like:
- Minimum 3/8 inch gap at each jamb on frames over 72 inches wide, with shims placed to hold the frame centered in the rough opening through full expansion.
- Head gap at 3/8 inch minimum, never packed tight. The head is where the frame bows upward when the sun hits it.
- Sill gap 1/4 inch maximum, tighter than the sides because the sill shims carry the weight – a load-bearing shim on a sloped sill pan wants contact, not clearance.
- Backer rod behind the gap so the sealant can flex without being stretched thin across a wide joint.
Vinyl is still a good choice in Summerlin – PGT and CGI both make frames engineered for the Southwest. But the product can only do its job if the installer wrote the gap math for the desert the window will actually live in.
Clark County Permit Thresholds for Window Replacement
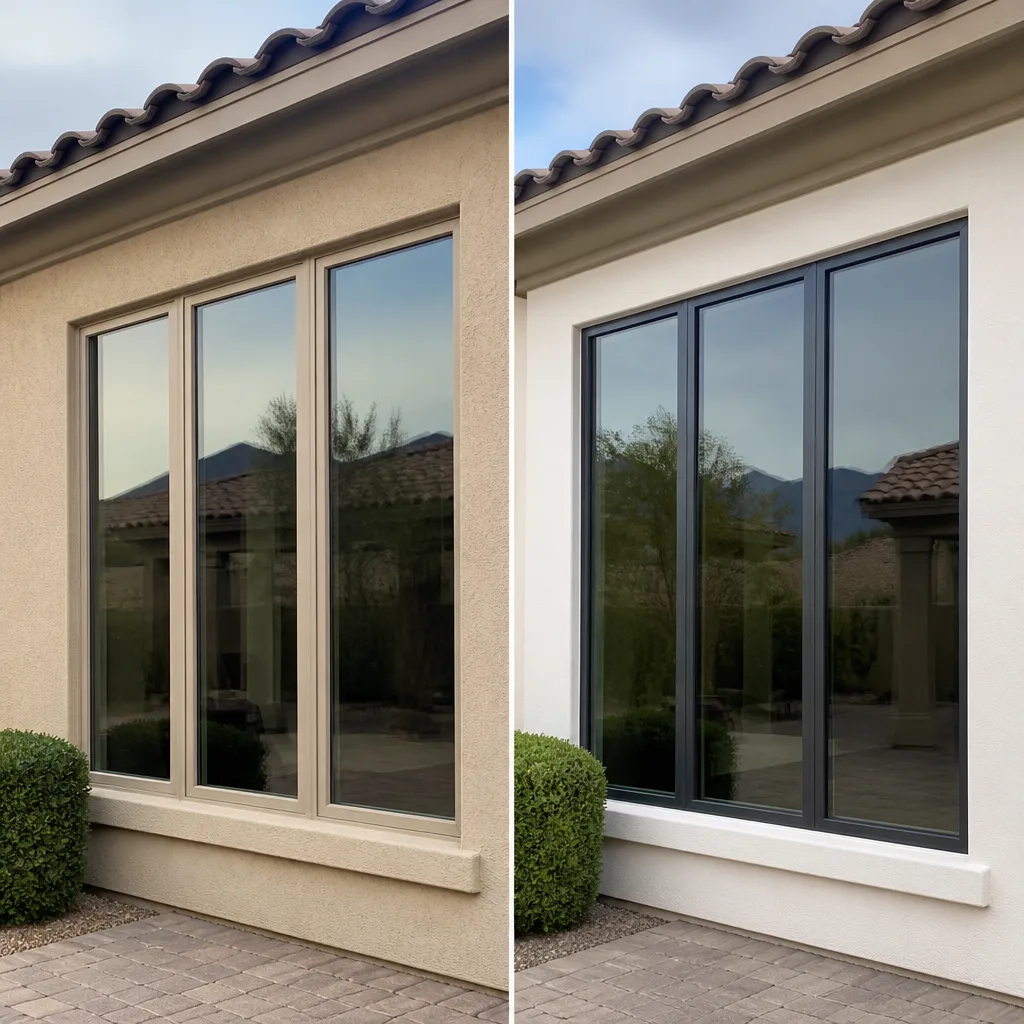
This is the section homeowners ask about most, and the answer is usually less scary than they expect. In Clark County, a like-for-like window replacement in the same opening size, with the same operation type (a slider for a slider, a casement for a casement), generally does not require a building permit. You are swapping a component, not altering the structure.
A permit is required when any of the following is true:
- The rough opening changes size. Enlarging or reducing an opening affects structural framing, header sizing, and sometimes the shear path. Permit required.
- Egress dimensions change on a bedroom window. Bedroom egress has a minimum clear opening area. If the new window reduces that, the plan check catches it – better to know before install.
- The header is removed or altered. Any change to the load path above the opening requires plan review.
- An opening is added or walled off. A new window in a solid wall, or closing off an existing window, requires a permit and stucco matching.
- An HOA or the Summerlin master plan requires review. The Summerlin Community Association and individual village HOAs often require exterior material and elevation approval before work starts. That’s not a county permit, but a lack of approval can force rework.
For a straight replacement, the permit conversation usually reduces to HOA approval – and that’s the one that catches homeowners off guard. In Summerlin, a window that changes exterior frame color, mullion pattern, or visible glass area may need village HOA sign-off before the install date. A careful installer confirms that requirement before ordering product, not after.
How to Read a Measured Survey Document
A measured survey is the drawing that records, opening by opening, exactly what’s on your house. It’s the foundational document of a professional window job, and it’s the one most homeowners never learn to read. Here’s what a well-built survey contains:
- Opening number or label (O1, O2, O3) with a location reference – “O3, master bedroom, west elevation” – so it can be matched to the actual window.
- Rough opening width and height, taken at the framing, not the existing trim or stucco.
- Operation type: fixed, single hung, casement, slider, awning, picture.
- Sightline and frame width, which determine the visible glass area and the exterior proportions.
- Glass specification: tempered (required for egress, bathroom, low sills), laminated, impact-rated, or standard dual-pane.
- U-factor and SHGC targets, which matter more in Summerlin than the marketing name on the glass.
- Exterior cladding note: stucco return depth, trim detail, sill material.
- Interior condition: drywall return, stool, apron, jamb extension.
A survey without opening-by-opening detail is a guess in a nice font. When the survey is done well, it becomes the document that everything else hangs on. The written quote is not a separate document – it’s the survey with prices attached. If the price and the surveyed opening don’t match line for line, something is off.
How to Verify Your Quote Matches the Openings
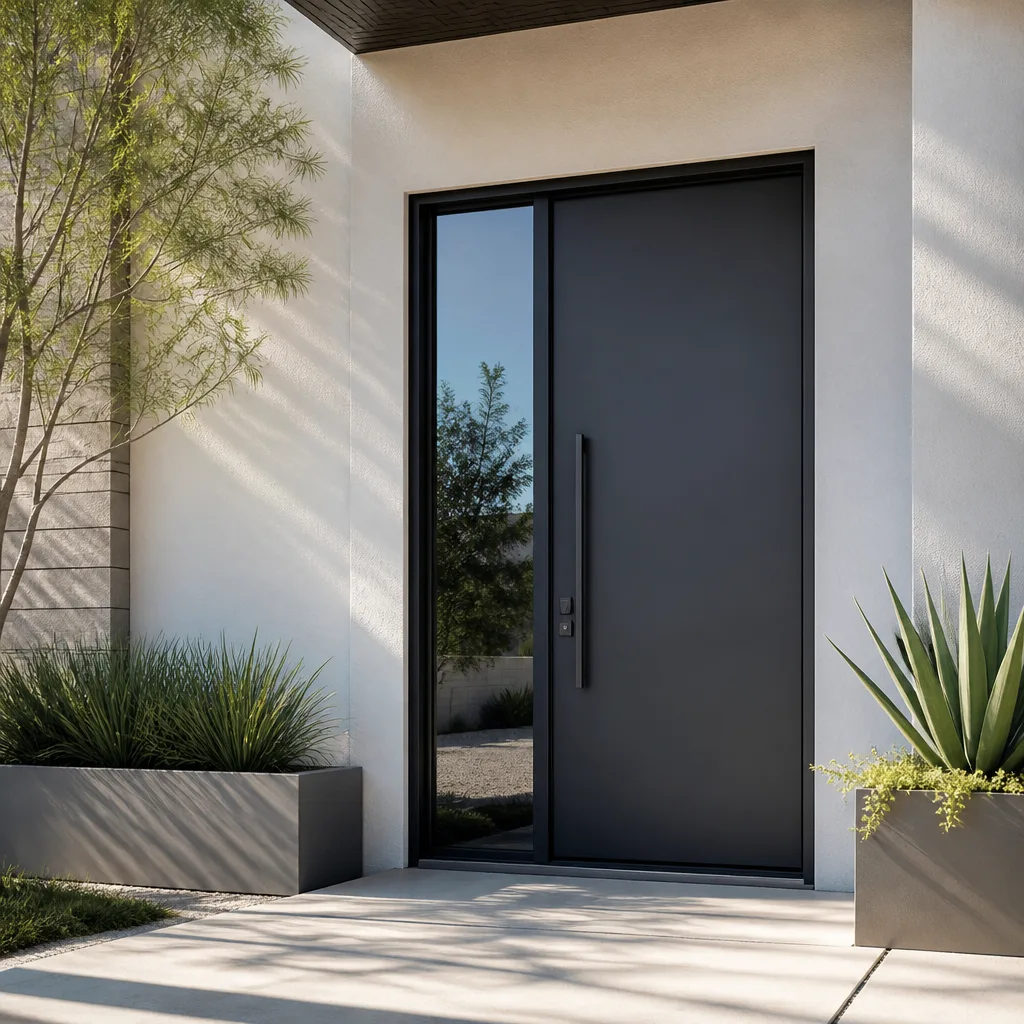
The single most useful pre-install check a Summerlin homeowner can do: set the written quote next to the openings on your own house and match them one by one. It takes twenty minutes and catches most of the common errors before product is ordered.
Here’s the sweep, in order:
- Count the openings. The quote should show the same number of openings as your home. If the count doesn’t match, find out why before signing.
- Match operation types. Walk the house room by room. A left-hand slider quoted as a right-hand slider is a mistake that survives to install day unless it’s caught.
- Match dimensions to the home. A tape measure is enough. The rough-opening width and height on the quote should be within about 1/4 inch of what you measure at the interior jamb.
- Confirm glass spec on the sensitive openings. Bathrooms and floor-to-ceiling windows on the first floor need tempered glass. Bedrooms need egress. Confirm the quote says so per opening.
- Check the finish and color line items. Exterior finish color, interior finish color, mullion color – all should be named per opening group.
- Confirm the exclusions. Stucco repair, drywall patching, interior painting, HOA fees – a good quote lists what’s not included, because the first surprise invoice comes from the exception, not the base.
This is the whole point of a written price before work starts. If you’re comparing three quotes and one of them is a verbal number, the comparison is fictional. Call (844) 560-5201 for a free estimate and any Summerlin homeowner can hand us a competitor’s written quote and get a second opinion at no charge. That’s part of how the Sightline Windows & Doors Summerlin home process works, and we offer it because a written quote review is where a job gets saved, not where it gets sold.
The Installation Process, Step by Step
What the actual install day looks like on a Summerlin home, in sequence:
- Protect the interior. Floors covered, furniture moved or protected, window coverings removed before crews start.
- Cut the stucco. A diamond blade on a grinder, with a consistent cut line set slightly outside the new frame footprint. Dust containment is the difference between a clean job and a homeowner finding stucco powder on the ceiling fan in August.
- Remove the old window. Sash out first, then frame, watching for lead paint on pre-1978 sills if the home is older.
- Inspect the rough opening. Water damage, dry rot, and prior flashing failures get documented before the new window goes in. This is the moment to add flashing scope if the existing opening needs it.
- Install the sill pan and side flashing. In the sequence from the flashing section above.
- Set the new frame. Shims at the desert-climate gaps, plumb and level checked at each corner, not just at the head.
- Fasten. Nail fin or screw through the frame per product spec. PGT and CGI have specific fastening patterns; a good installer follows them.
- Head flashing and WRB tie-in. Shingle-lapped over the side flashing.
- Sealant at the perimeter. Backer rod and the appropriate sealant chemistry.
- Stucco patch and finish. Matching texture to the surrounding wall. This is where quality varies the most – matching 20-year-old stucco against a fresh patch is an art, and we photograph every patch for the record.
- Interior trim and touch-up. Stool, apron, and jamb extension as specified in the survey.
- Operational check. Every sash operated, every lock tested, every screen fitted. Documented in the photo record.
Every window and door we install under the Haven Standard gets a documented photo record on completion – the flashing as it went down, the sealant bead as it cured, the stucco patch as it set. It’s not an upsell. It’s the file that makes the 365-Day Done Right Promise something you can point at instead of argue about. The window installation in Summerlin scope and the window replacement in Summerlin scope differ slightly in timing and flashing detail, and the survey document tells you which one you’re getting.
Common Mistakes to Avoid
- A coastal expansion gap on a desert frame. A 1/4-inch jamb gap is fine in Portland. On a 96-inch slider in Summerlin it leaves no margin for the frame’s July movement, and the sash stops tracking within a few years.
- Acrylic caulk on an exterior stucco joint. It looks fine on install day and is brittle and chalky within 24 months. Any written quote that says “caulk” without a brand and product is a red flag on this front.
- Skipping the sill pan. A taped seam is not a sloped pan. The monsoon test comes eventually, and a flat sill holds water against the sheathing for weeks.
- Head flashing lapped the wrong way. It should sit over the side flashing, not under it. This one mistake accounts for most of the water intrusion we’re called to diagnose in Summerlin.
- Rough-opening measurement taken at the existing trim. The trim comes off during install. Measure the framing, or the new window won’t fit the frame it’s supposed to sit in.
- No HOA approval before ordering product. Summerlin village HOAs often require exterior finish and elevation sign-off. An installer who doesn’t flag the requirement before order day has put the timeline on the homeowner without saying so.
- A verbal second quote. If you’re comparing three contractors and only two came with a written line-item price, the comparison is a story, not math.
When to Call a Professional
Some window work is straightforward and some isn’t, and the split in Summerlin usually comes down to the wall assembly. If you’re dealing with a second-floor opening over a stucco wall, a slider or french door where the header and flashing detail get more complex, an enlarged opening that changes the structural header, or any window whose removal exposes dry rot or prior water intrusion, the work belongs with a professional crew. The same applies if you’re not sure whether your village HOA or the Summerlin Community Association requires elevation approval before install – that check is faster with someone who does it weekly.
We install from eight manufacturer lines – PGT, CGI, CWS, ES Windows, ECO Window Systems, Mr-Glass, Therma-Tru, and ViewLux – specified by what the opening requires, not by what’s in stock. Every engagement starts with a measured survey you keep, and the written price cannot differ from that document. Sightline Windows & Doors Summerlin offers free estimates in Summerlin – call (844) 560-5201.
Frequently Asked Questions
Window installation in Summerlin runs roughly $725-$1,450 per opening for standard vinyl replacement, and $1,300-$2,400+ per opening for impact-rated product, with the wide range reflecting frame size, glass spec, and stucco detail. Sliding glass doors run higher, typically $2,600-$5,800 installed. The number that matters is the written line-item quote tied to your measured survey, not a square-foot average. Call (844) 560-5201 for an exact quote – estimates are free.
For a like-for-like replacement in the same rough opening with the same operation type, Clark County generally does not require a building permit. A permit is required when the opening size changes, when the header is altered, when egress dimensions change, or when a new opening is added to solid wall. Separately, most Summerlin village HOAs require exterior finish and elevation approval before install – that step is not optional and needs to happen before product is ordered. Call (844) 560-5201 and we’ll confirm the threshold for your specific openings.
A typical Summerlin tract home with 12-16 openings is a two-to-three-day install with a full crew, and a single slider or patio door is usually one day. The larger variable is product lead time – PGT and CGI impact-rated orders commonly run four to eight weeks, and stucco homes can add one day of patch and cure on the back end. A written schedule from your installer should name both the install days and the lead-time window, separately. Call (844) 560-5201 to get a schedule estimate for your openings.
Aim for a U-factor around 0.30 or lower and an SHGC around 0.25 or lower for west- and south-facing openings; the east and north elevations can run a bit higher without hurting comfort much. In Summerlin’s climate the SHGC number matters more than the marketing-grade glass name, because that’s the metric that governs how much solar heat actually enters the room. Tempered glass is required by code on floor-to-ceiling windows, windows adjacent to doors, and bathroom windows. Ask for the spec sheet by opening, not by product line.
On a properly measured job, no. The founding principle under the Haven Standard is that the measurement and the quote are the same document – the written price you signed matches the openings being worked, opening by opening, and does not move once work begins. The exception is a latent condition the survey could not see: dry rot or an old leaking flashing behind the stucco, which gets documented and priced before that scope is added, not after. Any installer who can’t say this clearly in writing is telling you the price is a starting bid. Call (844) 560-5201 for a written price before work starts.
Summerlin installs happen year-round, but the summer months add two practical variables. First, sealant cures – solvent-based urethane reaches skin-over faster in 110°F heat, which shortens the working window; installers schedule accordingly. Second, stucco patching on a July afternoon can flash-cure, which affects texture matching. A crew that knows the local climate sequences the work around the heat rather than fighting it. Outdoor installation work is not an emergency service; the smart move in Summerlin is to schedule ahead for the shoulder seasons (April-May, October-November) if timing is flexible. Call (844) 560-5201 to schedule your free estimate.
The Bottom Line
A Summerlin window is only as good as the installation spec written for Summerlin. Stucco cladding changes the rough-opening detail and the flashing sequence. Vinyl frames move roughly 0.22 inches on a 96-inch slider across a 100°F temperature swing, and coastal expansion math leaves no margin. Sealant chemistry decides whether the perimeter is watertight in year five or cracked and chalky in year two. Permits are rarely required for straight replacement; HOA approval in Summerlin often is. A measured survey and a written price that match opening by opening is the document that makes all of it enforceable. Bring us any competitor’s quote for a free second opinion. Call (844) 560-5201 to schedule your free estimate – a written price, before any work starts.
Written by the team at Sightline Windows & Doors Summerlin.
Six Reasons Homeowners Choose Sightline Windows & Doors Summerlin
Laminated glass and reinforced frames hold up to wind-driven rain, hail and flying debris, so your openings stay sealed when the weather turns.
Low-E insulated impact glass from our manufacturer lines commonly cuts monthly cooling bills 20-30%.
Laminated impact glass shuts out up to 40% of outside noise - traffic, neighbors, weather.
Monitoring services run $30-90 a month. Laminated impact glass resists forced entry around the clock, with no subscription.
Tighter seals and insulated glass even out hot and cold rooms and stop the drafts at the frame.
A full impact package upgrades curb appeal, buyer confidence and appraised value in one project.
Other Sightline Windows & Doors Summerlin Services
What Neighbors Say About Sightline Windows & Doors Summerlin